UPDATE: We just shared a tutorial on our NEW favorite way to transfer images to wood, canvas, etc! here, https://www.apieceofrainbow.com/transfer-images-to-wood/
enjoy! 🙂
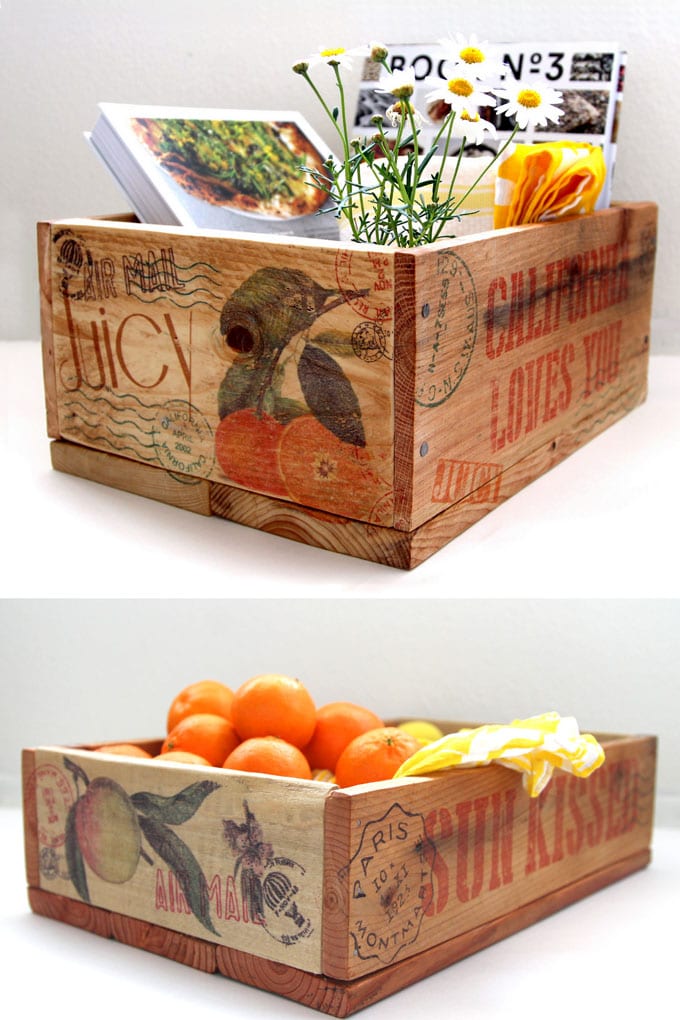
Love vintage crates? How about making your own for free, using an easy image transfer to wood method?
Here’s part 2 of the 3-part tutorial on how to make free wooden crates from discarded pallets, add beautiful designs to them using an easy image transfer to wood method, and finish them with a 2-ingredient luscious non-toxic furniture wax / DIY natural wood finish.

This image transfer to wood method is super easy, and fun! However, I will share some fabulous failures that I encountered, so you can get a more consistent result with this image transfer technique.
*Some resources in article are affiliate links. Full disclosure here.
Here’s Part 1: How to make your own wood crates from pallet wood or other wood.
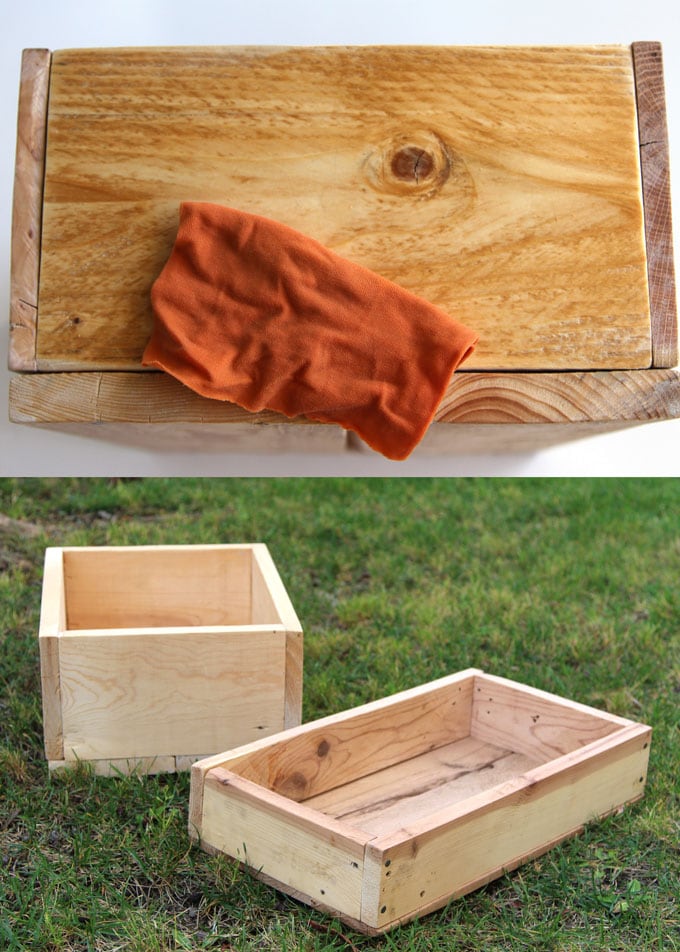
Let’s start with these wooden crates we made in the previous tutorial.
Table of Contents
- Materials and tools for image transfer to wood:
- Step 1: prepare and print images onto wax paper.
- Step 2: image transfer to wood.
- Some fabulous failures to share, so you can get a more consistent result with this image transfer to wood technique.
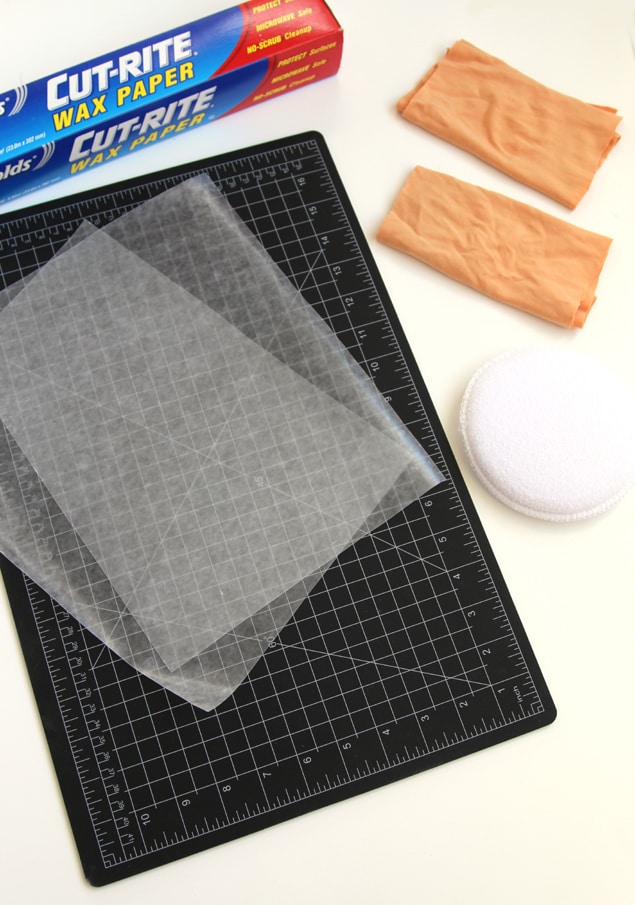
Materials and tools for image transfer to wood:
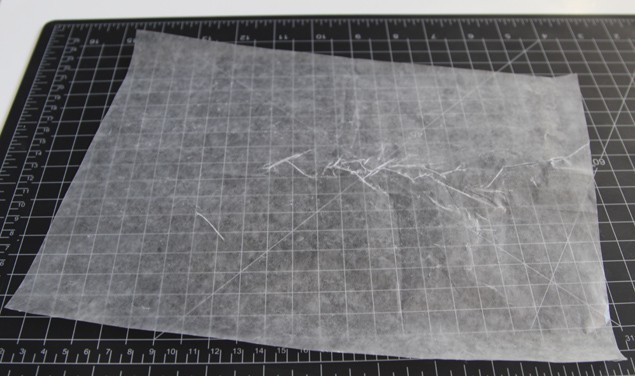
- wax paper , cut into sheets no more than 8.5″ wide, a little longer than 11″, so it can fold over one edge of letter size paper. The glossy backing paper for labels or stickers works great too.
- a inkjet printer
- scotch tape
- 2 pieces of cloth such as old t-shirts and a soft pad such as a shoe polishing pad
(Update: I made a video tutorial of this image transfer technique and these printed wood wall art you can check out here! )
Step 1: prepare and print images onto wax paper.
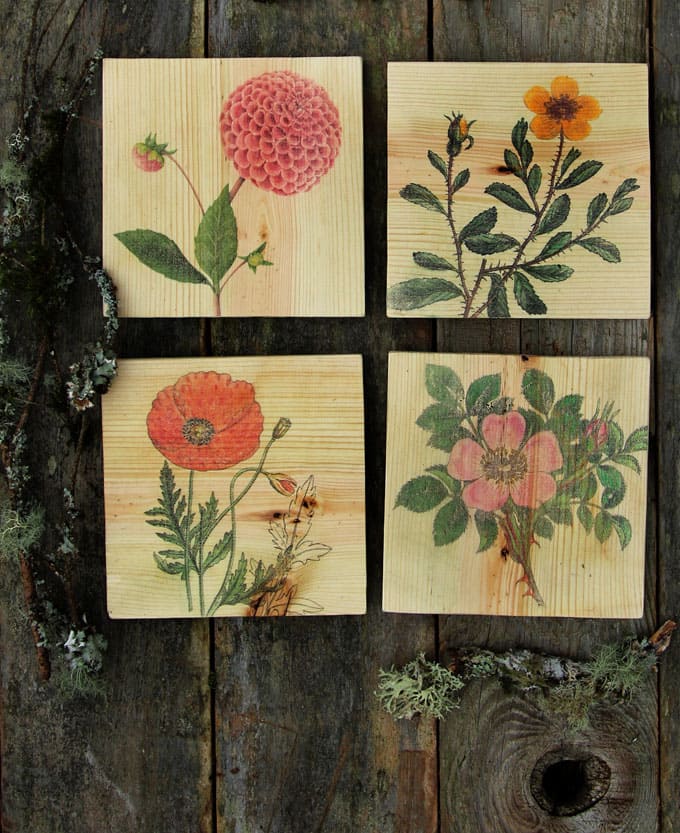
I made some collage sheets of stamps, images and phrases used on these wood crates so you can make your own sets too. You can download them at the end!
First using photoshop or gimp, size and arrange the images and words you want on the crate onto a letter size file. IMPORTANT: flip the images and words – remember they are going to be transferred (mirrored)!
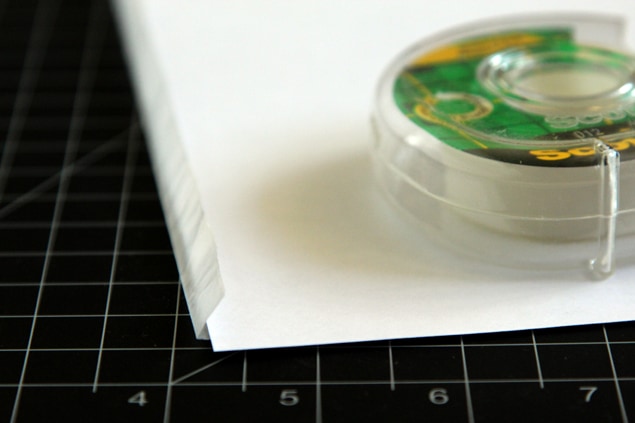
Fold and tape one end of the wax paper onto a piece of regular 8.5″x11″ paper, this will be the end that first go through the printer. Leave the rest of the paper loose. Print your image so the ink goes on the wax paper
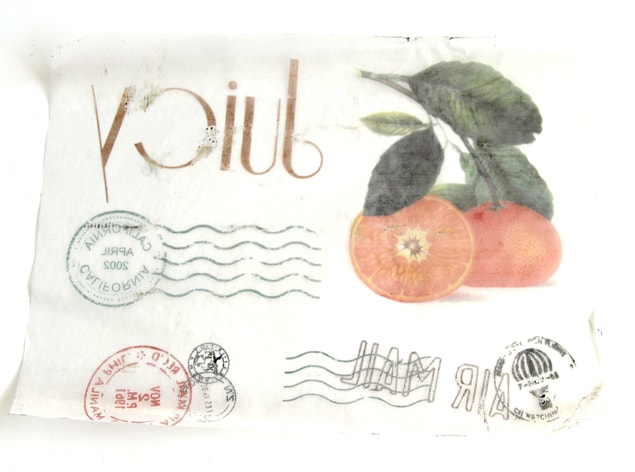
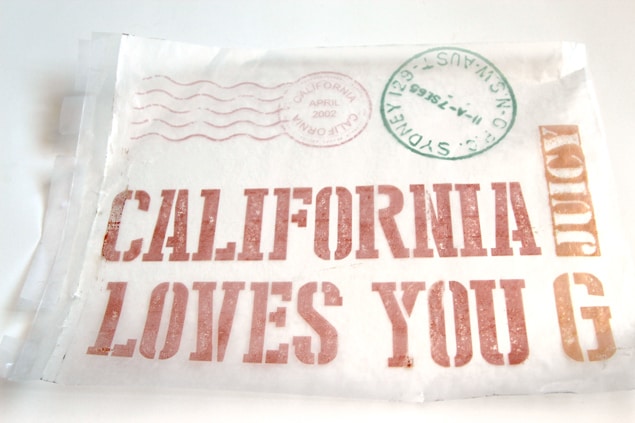
. Be very careful not to touch the printed surface. Can you see the smudge I made on the letters ‘juicy’?
Step 2: image transfer to wood.
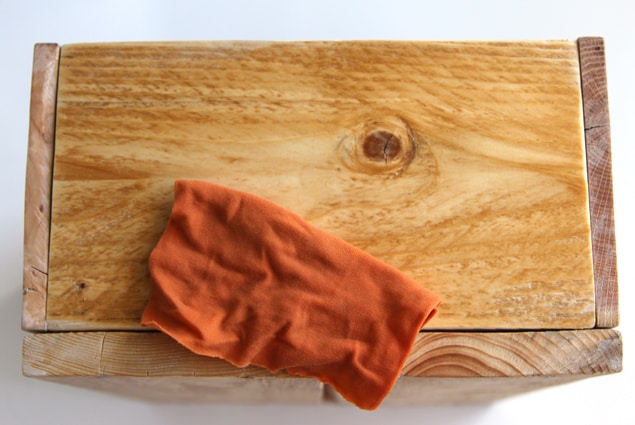

Dip one piece of cloth in water, and wet the surface of the pallet wood crates you are about to print on, then use the dry piece to absorb the water a little.
The goal is to get the wood to absorb the ink, but if the wood is too wet, the ink would be runny. Test on a piece of wood to get a feel of how wet/dry the wood should be.
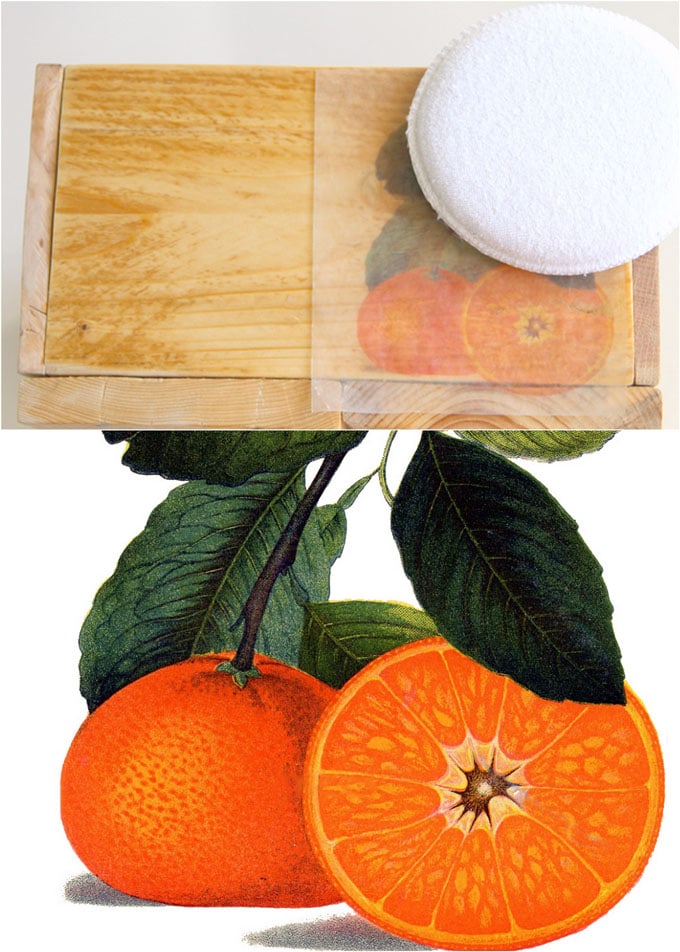
Next cut and lay a piece of the design onto the wood surface, once it’s on there, do not move it anymore, hold it down and use the soft pad to rub the wax paper like you would make a print, and you will be delighted to see how beautifully the image got transferred onto the wood!
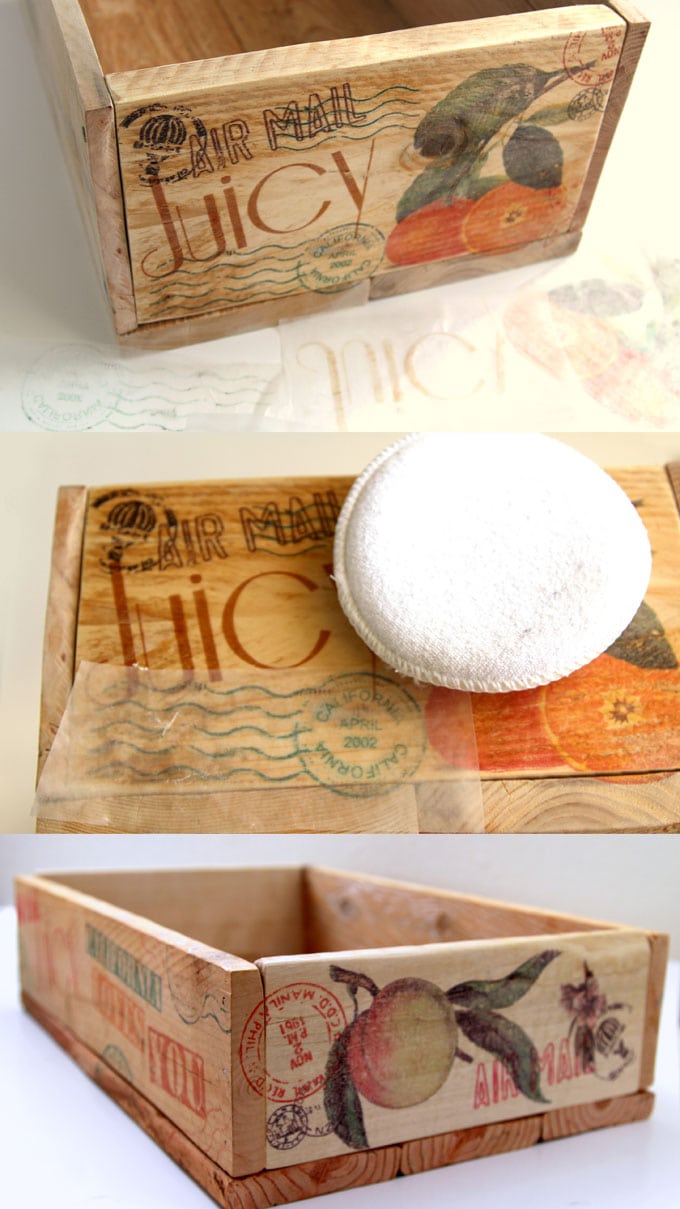
Repeat this step and keep layering images until you are happy with the result. The gorgeous peach and orange illustrations are from the fabulouse Graphics Fairy (thank you Karen!)
UPDATE: We just shared a tutorial on our NEW favorite way to transfer images to wood, canvas, etc! SO much easier!! Here, https://www.apieceofrainbow.com/transfer-images-to-wood/
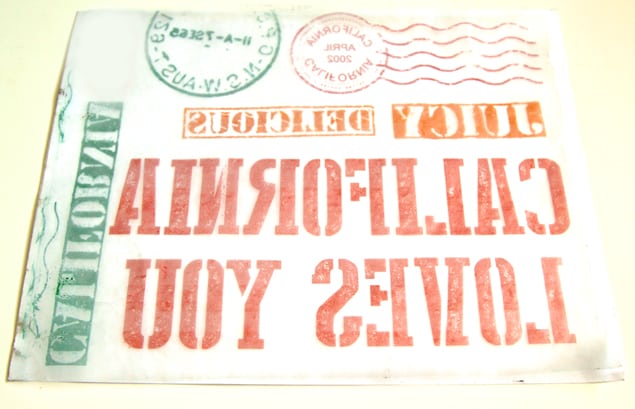
OK, time to share some lessons I learned making these pallet wooden crates with the 3 pictures below.
- Feeding wax paper directly into the printer will cause the paper to jam 50% of the time. So tape the wax paper onto a regular sheet of paper.
- I forgot to flip/mirror the image! ahhh (California still loves you though)
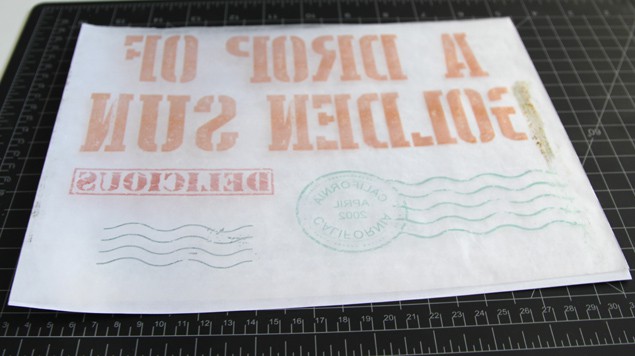
- I tried taping the top and bottom edge of wax paper onto a 8.5″x11″, it resulted in the whole thing warping, and ink got smudged! So only tape the top edge!
After the image transfer dries for a couple of hours, the final step is to protect our pallet wood crates with a luscious furniture wax.
Go to Part 3: How to make 2-ingredient DIY all natural wood finish & clear furniture wax
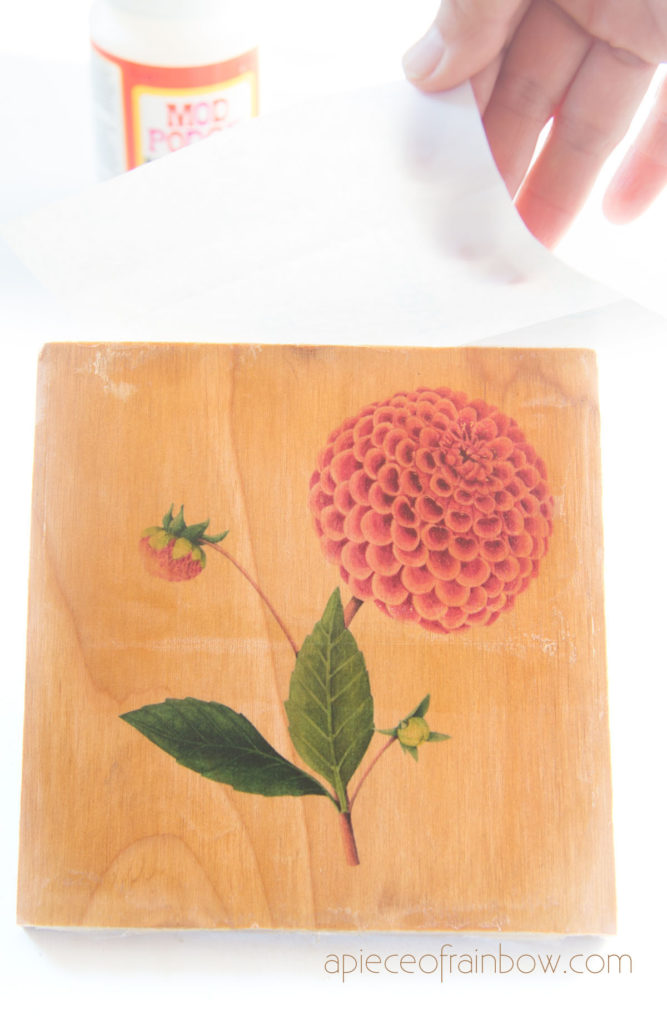
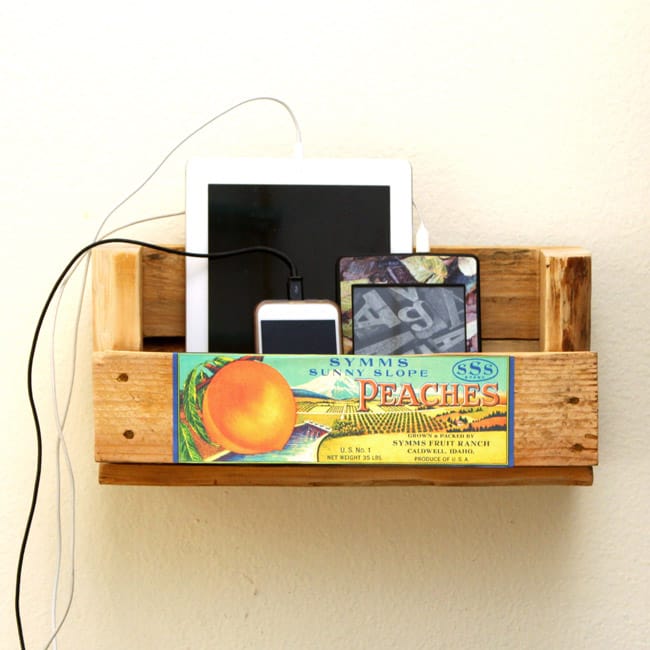
Another way to add images and create vintage inspired art and designs on wood is to use paper and glue, or Modpodge. Like in this pallet organizing shelf tutorial with free crate label downloads.
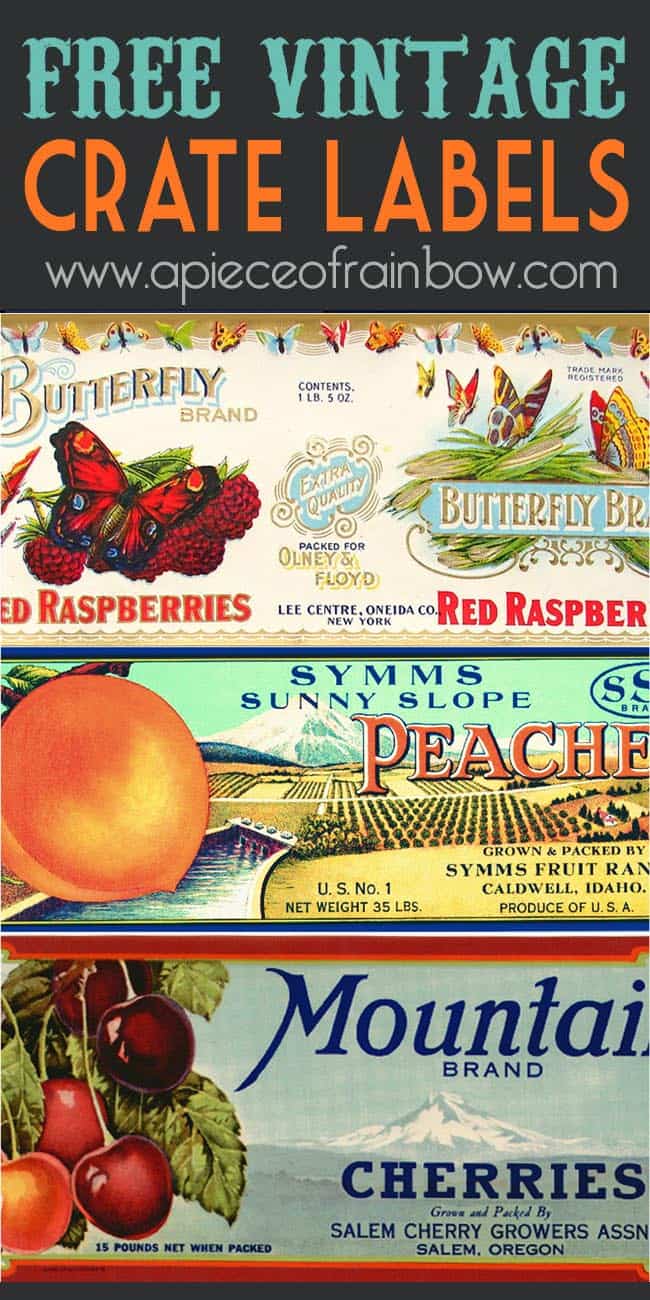
Here are the collage sheets of stamps, images and phrases used to create these pallet wood crates. DOWNLOAD here.
Happy creating!