Best way to transfer photos & art images to wood, canvas, etc! Mod Podge vs gel medium No rubbing technique. Great DIY crafts & decor ideas!
When I started this blog in 2014, one of my first tutorials was on how to transfer images to pallet wood crates! It’s still one of my favorite projects, but I have always wished to find better and easier ways to transfer photos and art to wood, canvas, ceramic tile, and other surfaces.
The wax paper technique worked well but sometimes it would cause the printer to jam. Another popular technique is to use mod podge and regular copy paper. It can be time consuming to rub the paper off, and if you rub too much the images can come off.
Finally I think I have found the best and easiest way to transfer photos and art images to wood! The image transfer quality is really nice. No rubbing needed, and no more printer jam either! So, what is the secret? 🙂
Check out the video tutorial or skip to written tutorial below!
*Some resources in article are affiliate links. Full disclosure here.
Materials and tools to transfer images to wood
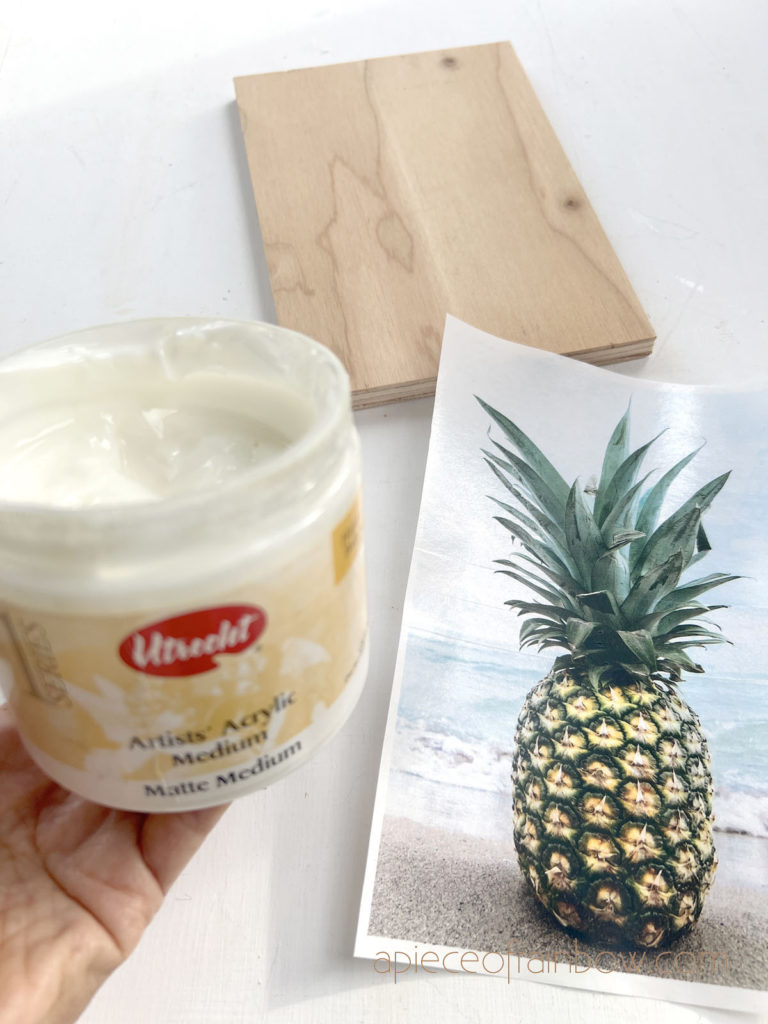
Label sheets( Peel off the labels and ONLY use the glossy side of backing paper!) a printer, Mod Podge or acrylic gel (see comparison below)
Can I use either inkjet or laser printer?
Both inkjet and laser printer will work nicely. Laser printer works a little better for this technique with a bit more clarity and details in the transfer.
Which medium is better for image transfer: Mod Podge or acrylic gel?
Below is a side by side test I did with gel medium on the left, and Mod podge on the right.
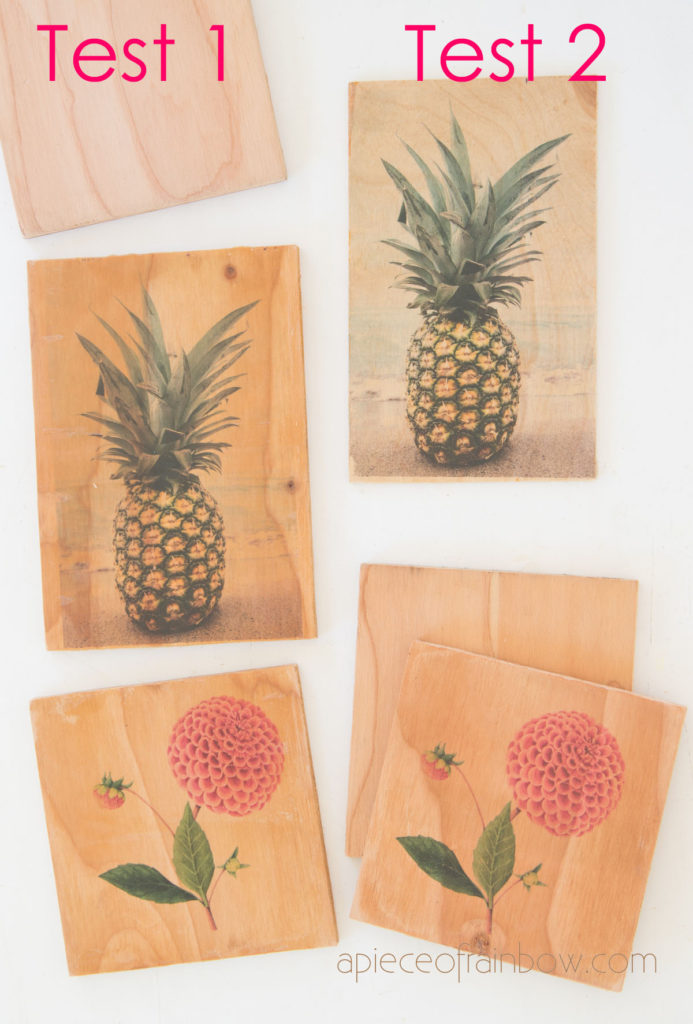
I got great results with both. However, Mod Podge dries much faster, and it’s easier to find, so Mod Podge wins! I used the gloss Mod Podge, but the matte Mod Podge will work great too!
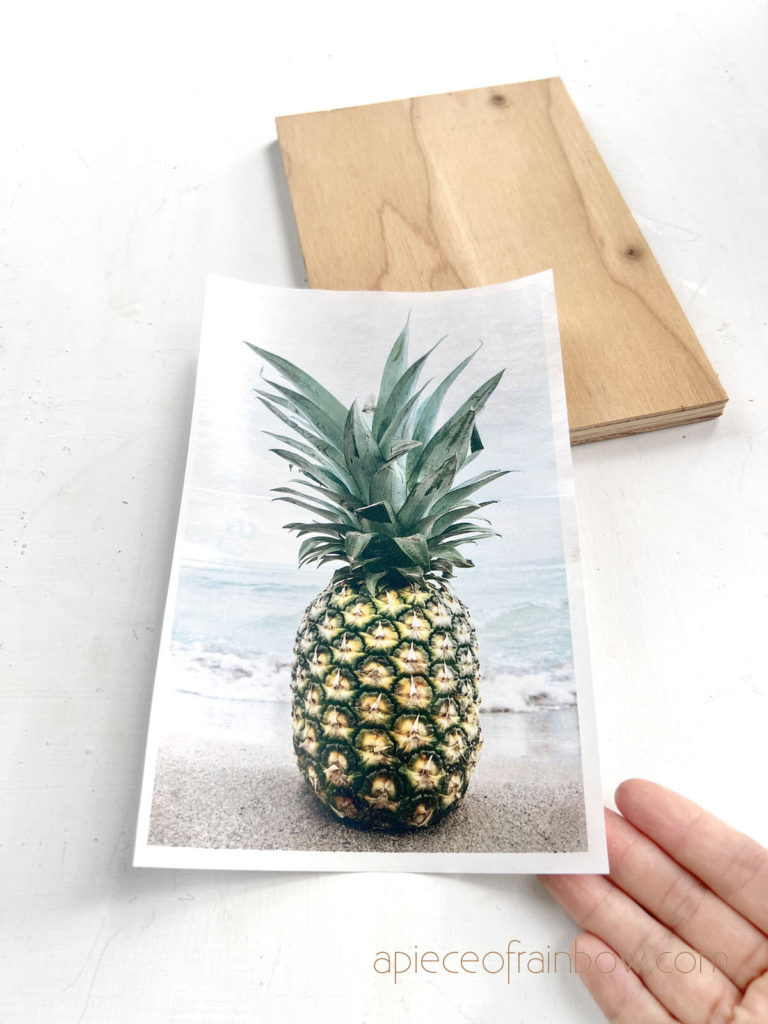
Step 1: print images
We will be printing the image on the the backing sheet of a label. Tape any score lines so the backing sheet stays together as a full 8.5×11 sheet.
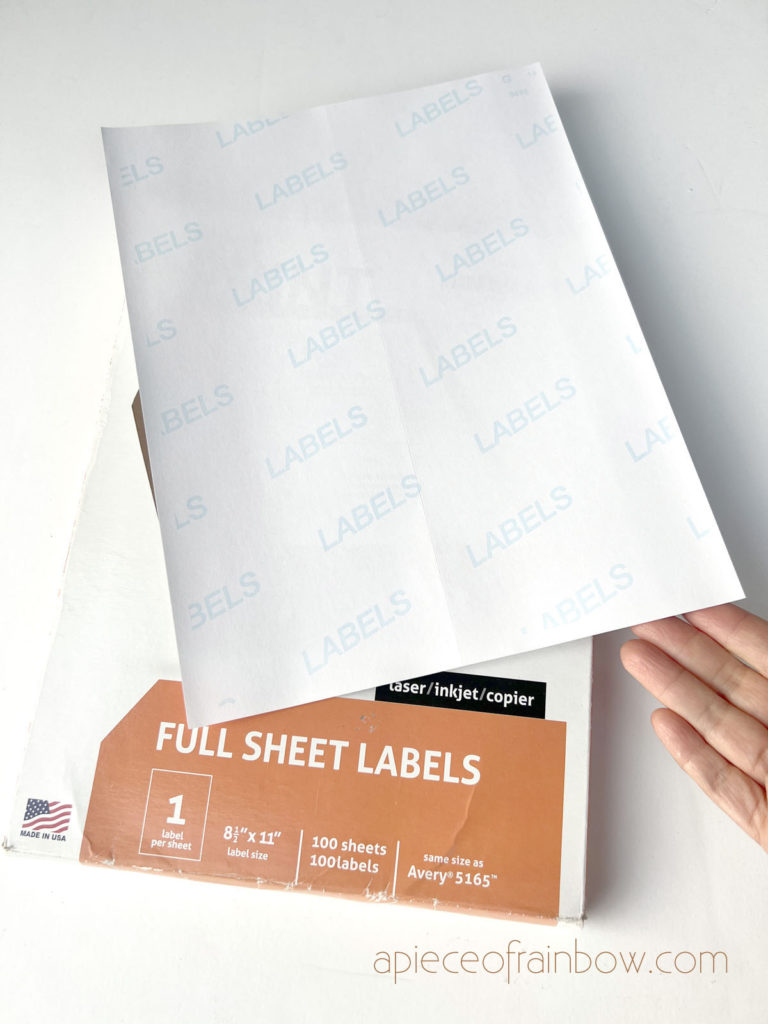
Print on the glossy side, and set the print paper settings to “Glossy Photo Paper”!Because the transferred image is mirrored, you might want to Mirror the image first before printing.
If you are using an inkjet printer, be very careful not to touch the image as it may smudge!
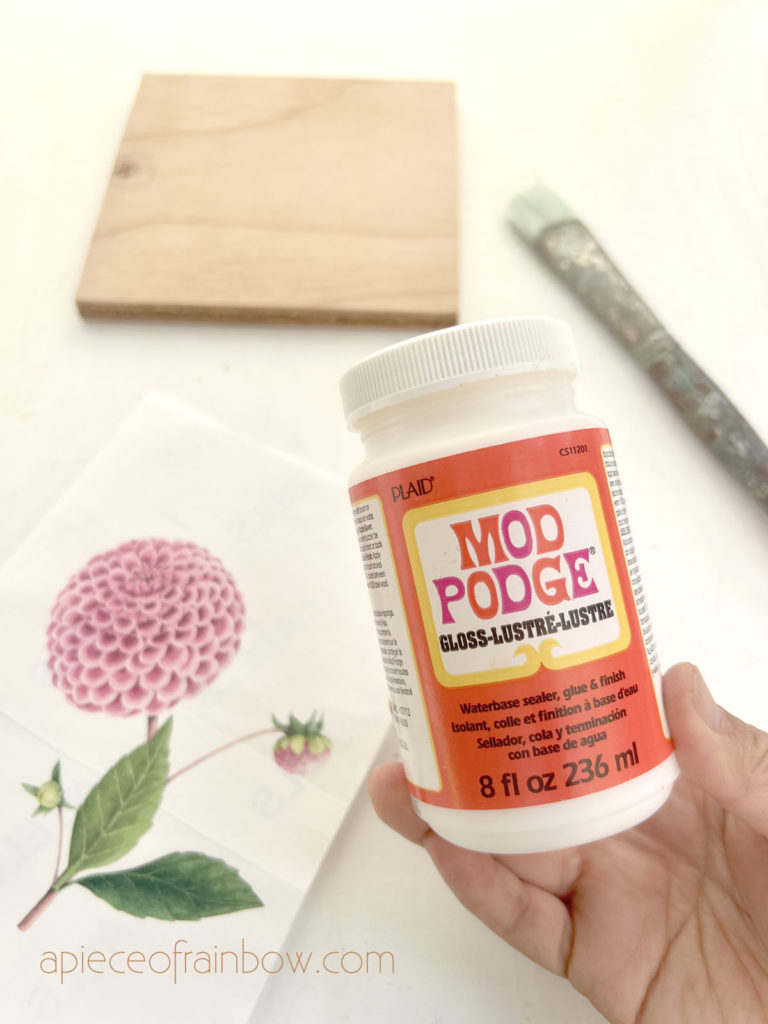
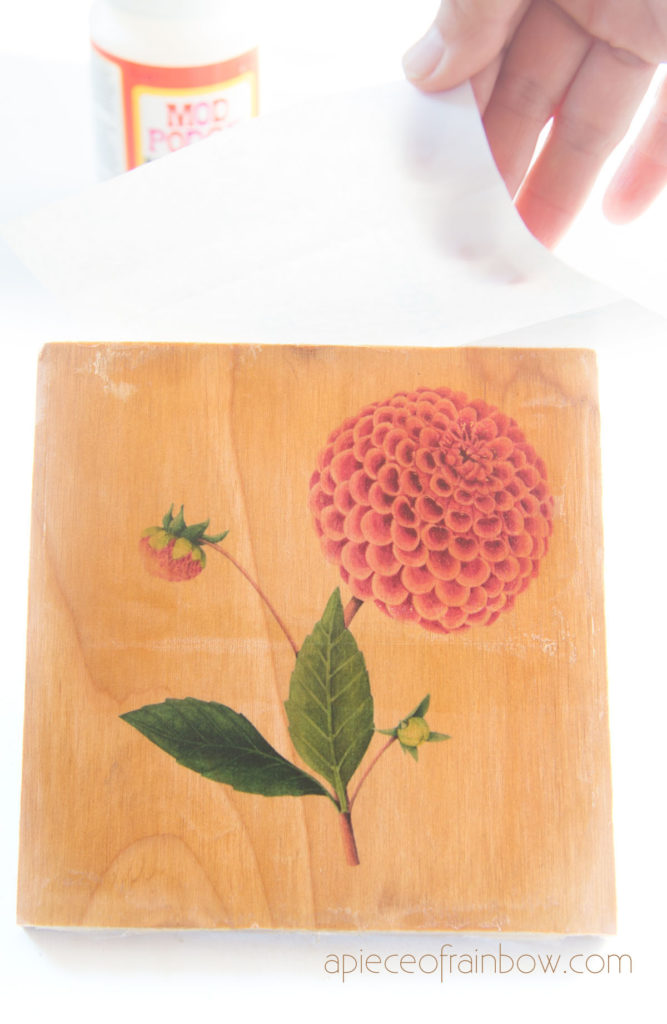
Step 2: transfer images to wood with mod podge or acrylic gel
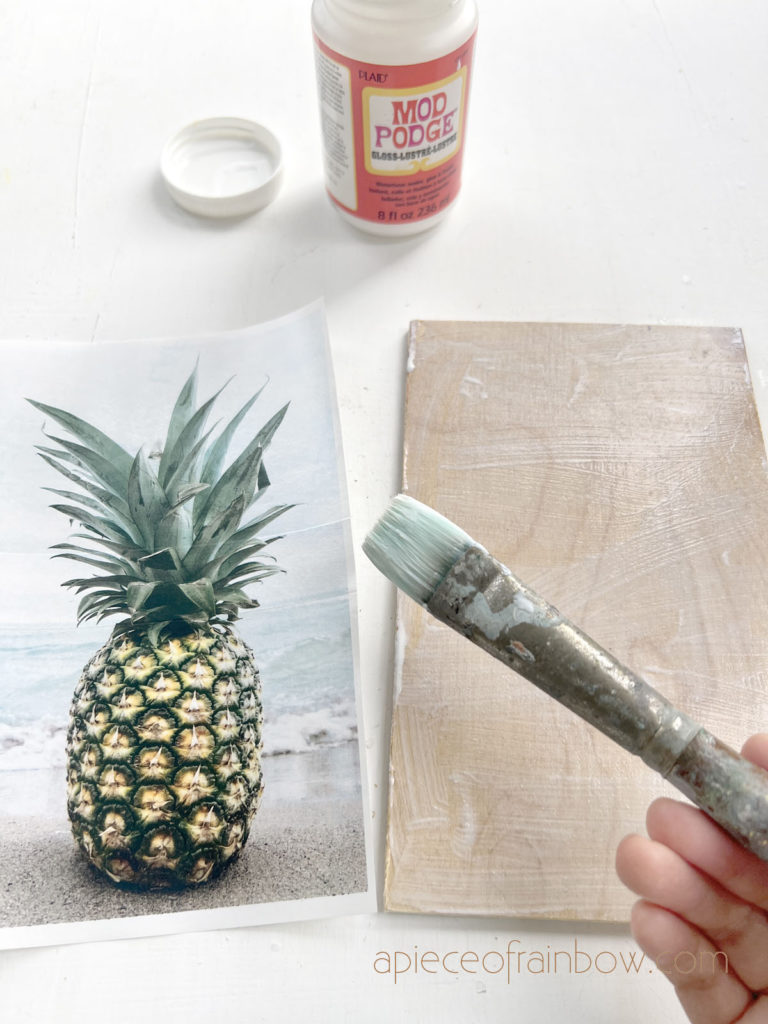
Brush 1-2 coats of Mod Podge onto the wood surface, not too thin or too thick.
Carefully lay the printed image on the wood, with the printed side facing down.
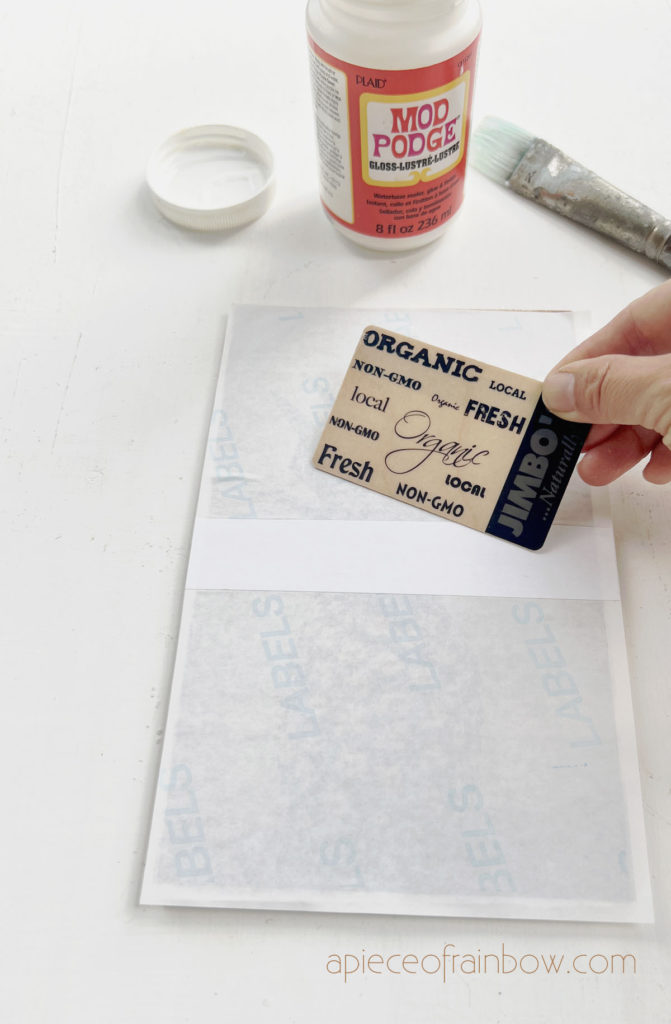
Use something like a credit card to smooth out the paper and press the paper down on the wood surface so there are no puddles of mod podge.
Wipe off any excess medium.
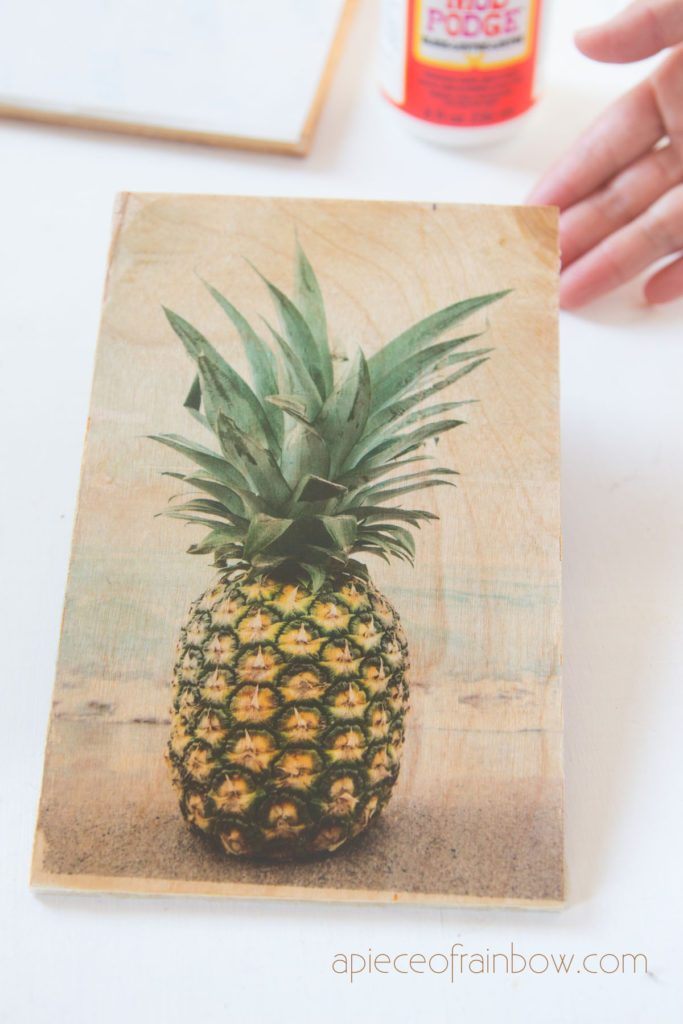
After a few hours, the mod podge will be be completely dry . Peel off the label paper, and admire the beautiful results!
You can use acrylic gel the same way. It takes a lot longer to dry. It’s a good idea to let the piece dry overnight so you are not tempted to peel it off too early. 🙂
Additional tips on how to transfer images to wood
You can also use this technique to transfer images to canvas, metal, painted wood, etc.
You don’t need to seal the image transfer because mod podge and acrylic gel are both sealers as well.
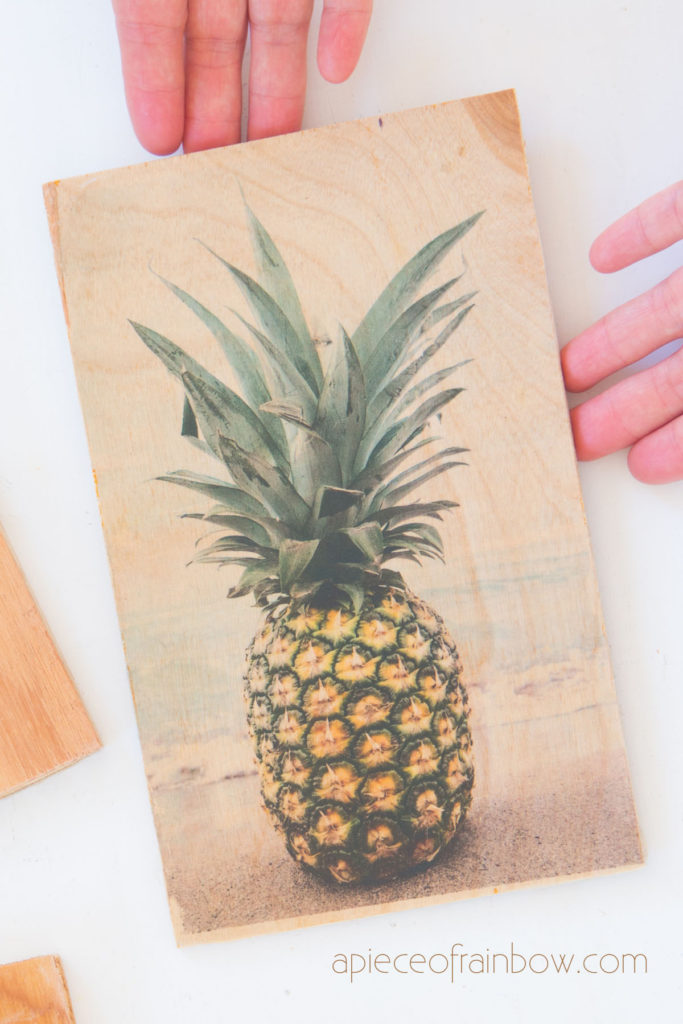
As you can see, the lighter color the wood is , the more variations of tones will show in the transferred image. In other words, only colors darker than the wood itself will show clearly! Keep this in mind when you choose photos especially.
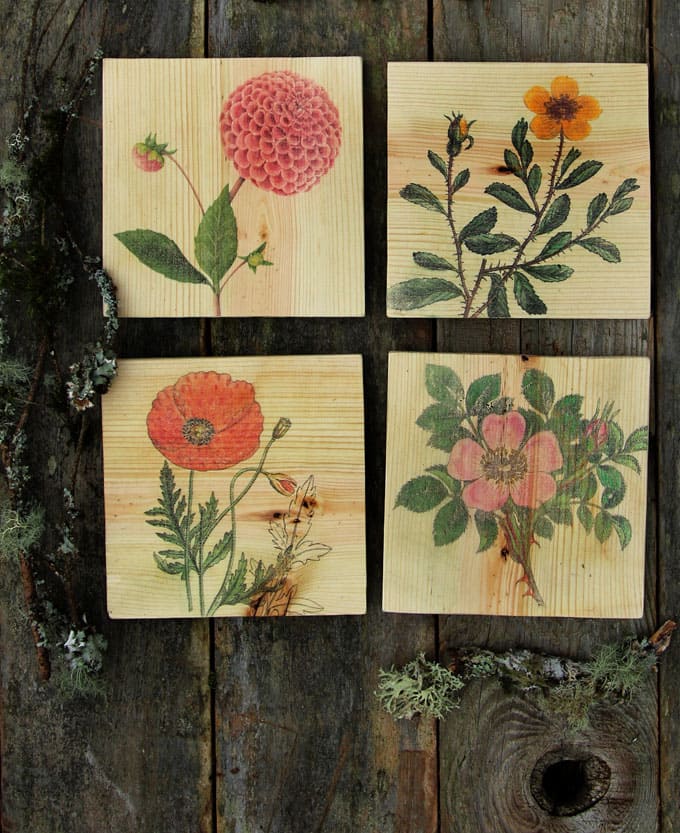
If you want to use the wood pieces as wall art, saw-tooth hangers or tab hangers like these are great for hanging.
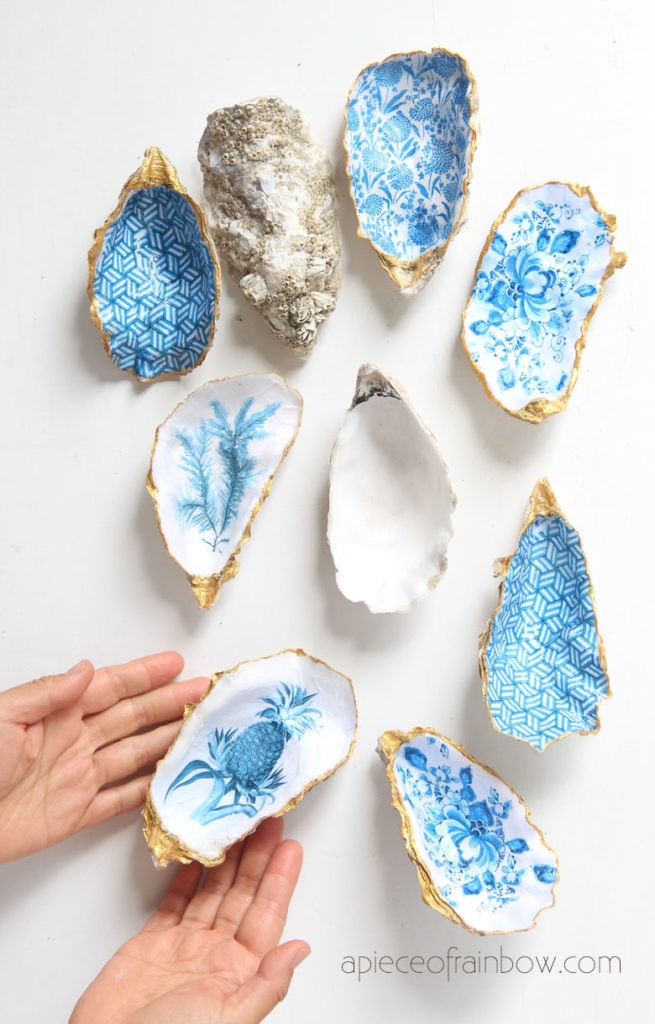
You may also love: how to make Anthropologie style trinket dish from oyster shells!
Happy creating! See you soon!