Bread recipes are common, but this homemade bread recipe is the winner after testing dozens of loaves of bread!
A few years ago I went on a quest to find the very best homemade bread recipe. Here were my criteria for the perfect loaf of white bread:
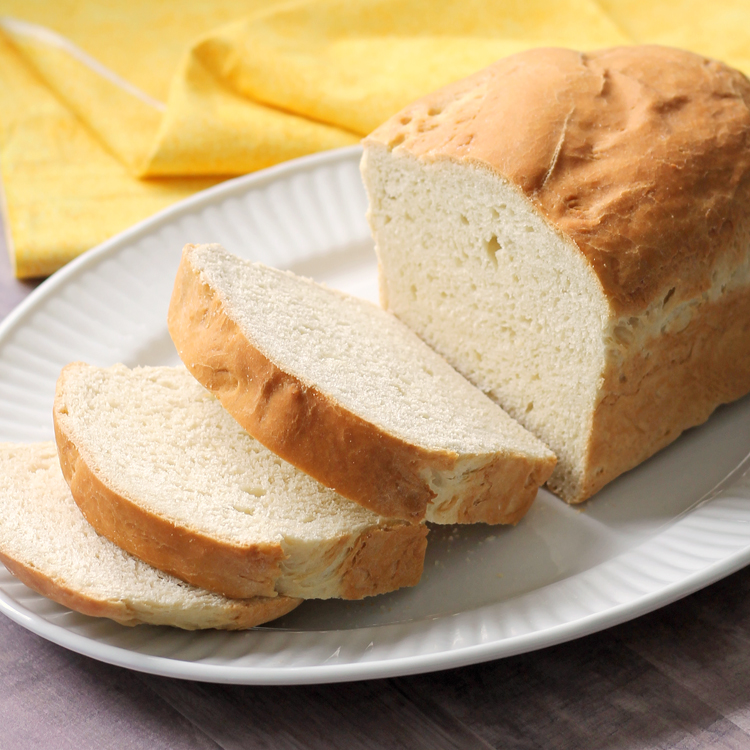
- Super soft texture
- Slices well/doesn’t crumble
- No expensive ingredients (no honey, gluten, butter, eggs or milk)
- Easy to make
I wasn’t sure if it was possible, but after dozens of failed recipes and many loaves of so-so bread, I found it! THE VERY BEST homemade bread recipe! And after using the same recipe for over a year, I am convinced.
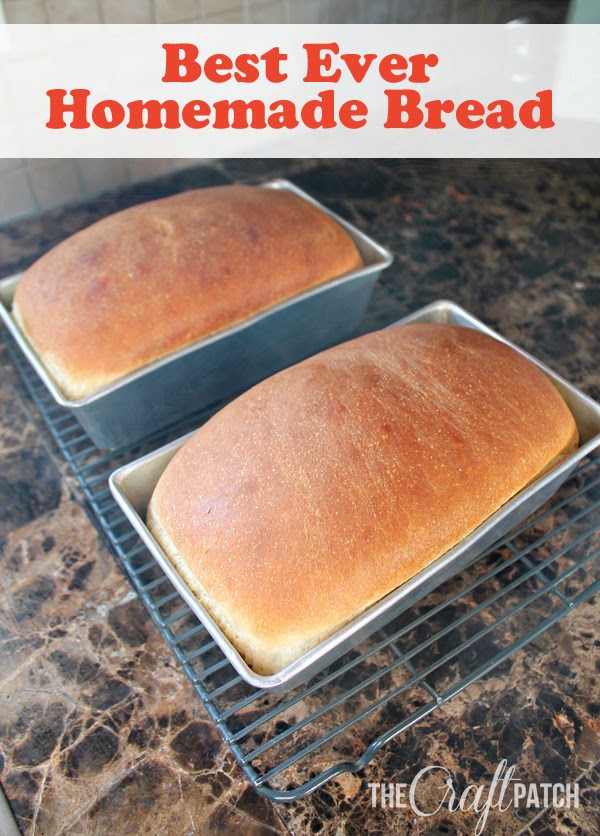
It meets every single requirement. This bread is so tender it melts in your mouth. It doesn’t fall apart when sliced and whoa, baby… it makes the most amazing toast. Plus it uses the very most basic ingredients, so it’s cheap to make. When we power through a loaf in five seconds flat, I don’t feel bad.
This recipe makes one perfect loaf. It can be doubled as long as your stand mixer or bread machine is large enough to handle double the dough. And I recommend doubling it because you will eat it so fast. It’s that good.
Tips for Making Homemade Bread
Water Temperature
- Cold water slows the rising yeast. Water that is too hot will kill the yeast. Warm water is best for bread making. I like to think of it as “baby bath” temperature. Room temperature water is fine too.
Yeast
- Yeast is available for sale in packets, jars and bricks. You can find it in the baking aisle at any grocery store. I bake a lot, so I buy the two pound bricks and store them in a glass mason jar in the fridge. If you only bake every so often, the packets or smaller jars might be better. Keep the yeast in a dry, cool place.
- Newly purchased yeast doesn’t need to be proofed, but if you find an old yeast jar in the back of your pantry and wonder if it’s still good, there’s an easy way to test it. Mix 1 teaspoon of yeast with 1 teaspoon of sugar and 1/4 cup water. If after 10 minutes or so, the mixture looks bubbly, the yeast is still good to use. If there are no bubbles, the yeast is probably no longer usable.
Flour
- You can use regular all-purpose flour for this recipe and it will work just fine. But I do suggest using bread flour. It has a higher protein content and makes the bread even more soft and pillowy. My favorite bread flour is the Turkey Flour from Lehi Roller Mills.
Flour Measurements
- Bread recipes never specify an exact amount of flour because it’s better to do it by feel. Start with the minimum amount of flour, mix it together with the other ingredients, then add more flour gradually (approximately 1/4 cup at a time) until the dough is no longer sticky.
- Adding too much flour will make your bread stiff and crumbly. That is the other reason that you should start with the smaller measurement of flour and then add it gradually… you can always add more flour, but it’s much harder to fix the dough if you add too much flour.
Mixing
- For years I mixed my bread dough in a bread machine, then transferred the dough to a bread pan and baked it in the oven. Bread machines are great because you just dump the ingredients in and walk away. They mix and knead the dough for you. They also keep the dough warm, so it rises faster.
- Now I use a KitchenAid to mix my bread dough. I use the dough hook attachment and let the machine knead the dough for me. When the dough gets to the right consistency, I just cover the mixer bowl with a clean towel for rise time.
- If you make bread by hand, mix the ingredients in a large bowl, then knead on a lightly floured surface, like your kitchen counter. Watch this 40 second video to see how to knead bread by hand.
Kneading
- Kneading is an important step in the bread-making process because it develops the gluten structure and makes the dough have that stretchy, elastic feel.
- You’ll know you’ve kneaded the dough long enough when it passes The Windowpane Test. If you can stretch a piece of dough thin enough to see light pass through it (like a windowpane) then the dough has been kneaded properly.
Rising
- Rise time is also an important part of bread making. If you don’t give the dough enough time to rise, you’ll end up with a loaf that is too dense. If you let the dough rise too long, the dough structure won’t be able to support the giant air bubbles and it’ll collapse.
- Rise times can vary based on the temperature of the air, the type of yeast, the exact amount of flour used, etc. so times are usually a suggestion and the size growth of the dough is a better indicator.
- Bread requires two rise times. Place the freshly kneaded dough in a bowl and cover the top with a clean towel. This first rise is when the yeast will do its magic and make your bread airy and fluffy. After the dough has doubled in size, you’ll shape it into a loaf shape and place it in a greased bread pan.
- Then it’s time for the second rise. I like to wait until the bread is about the size I want it to end up once baked. If you wait too long on the second rise and the dough collapses, don’t panic. You can still save it! Just reshape the dough into a loaf and let it rise again, but don’t wait so long.
Baking
- I use metal loaf pans and grease them with butter. You can use glass bread pans, although it may change baking times, so watch it closely. Metal loaf pans work better in my opinion.
- Bread is done baking when the crust is a dark golden brown and it sounds hollow when tapped. Or if you have a food thermometer, bread is done when it reaches 190 degrees F in the center.
Homemade Bread Recipe Video

The Best Homemade Bread
Cook Time 30 minutes Total Time 2 hours 30 minutes
This makes one loaf of soft, delicious homemade bread. Print Share Rate
Ingredients
- 1 cup warm water
- 2 tablespoons white sugar
- 2 teaspoons active dry yeast
- 1/4 cup vegetable oil
- 2.5 – 3.5 cups all-purpose or bread flour (start with 2.5 cups and add more as needed)
- 1 teaspoon salt
Instructions
- In the bowl of your stand mixer or bread machine, add the water, sugar and yeast and let sit for 10 minutes.
- Add the oil and salt, then gradually add the flour and mix until a nice ball forms. The dough should feel elastic, but not dry. Add more flour if dough is sticky, but don't add too much flour. Once the texture is right, let the machine knead the dough for 7-10 minutes until the dough feels stretchy.
- Cover the bowl and let the dough rise in a warm place until double, about 1.5 hours. Shape into a smooth log and place in a greased bread pan.
- Cover and let rise again, about 20 minutes. I usually let it go until it looks the right size for a loaf of bread.
- Bake at 350 for about 30 minutes, until bread is dark golden and sounds hollow when tapped, or until the center reaches 190 degrees F on a food thermometer.
Notes
This recipe can be doubled or tripled to make two or three loaves of bread at a time. Just divide the dough into the correct number of bread pans after the first rise. I have a 5 quart Kitchenaid and can’t quite comfortably mix four loaves at the same time, so I don’t recommend more than tripling.
Pin the image below so you can find this recipe later!

Want more homemade bread recipes? I’ve also got a great whole wheat bread recipe and my favorite artisan dutch oven bread that’s even easier to make!