Transform hollow core door into colorful boho farmhouse DIY painted panel door for $20! Easy makeover with simple tools, & great home improvement idea on a budget!
We all love high-impact low-effort DIY projects. This hollow core door makeover is definitely one of them. Such a big difference in the before and after!
Many of us have way too many hollow core doors in our lives, don’t you agree? 😉 When you opened the front door to our home a year ago, you would see not one, not two, but THREE generic and boring looking hollow core doors.
When we started our boho farmhouse IKEA kitchen remodel, we knew that all these hollow core doors need to change. To quote one of my favorite books (affiliate link) The Life changing magic of tidying up, we want everything in our home to spark joy. 🙂
*Some resources in article are affiliate links. Full disclosure here.
Let’s start with our first hollow core door makeover. It is super easy!
Table of Contents
- Materials and tools for a hollow core door makeover:
- Step 1: remove and prep door
- Step 2: cut and glue plywood strips to hollow core door
- Step 3: paint the panel door
- Step 4: add door knob
Materials and tools for a hollow core door makeover:
- plywood: we got a sheet of 3/16″ thick x 4′ x 8′ underlayment plywood at Home Depot, and they cut it into 4.5″ wide strips for us. We made the cross cuts at home using a circular saw.
- adhesive: you can use a good quality glue, or construction adhesive like Liquid Nails with a caulking gun.
- paint, primer, small paint roller and brush: we used Sherwin Williams Extreme Bond primer and Emerald paint in color Funky Yellow SW 6913 Satin finish, which is a beautiful vintage lime yellow.
- sand paper or sanding block, and optional spackling paste or joint compound
Step 1: remove and prep door
Below is a video tutorial on how to lift hinge pins and remove a door from the hinges.
Take off the door knob. If your door has glossy paint, give it a good sanding. clean the door surface for next step.
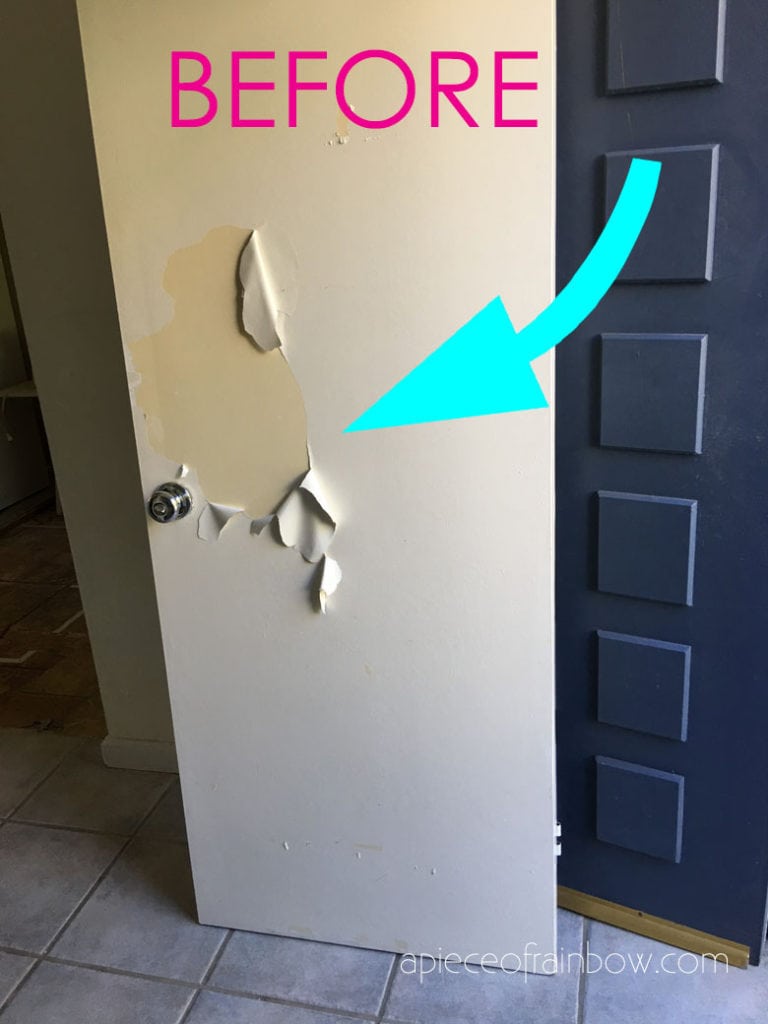
Our old door has peeling paint that needed to be sanded off, because it was painted with incompatible paint and primer by previous owners. Here’s an article on how to choose the right painting primers.
Step 2: cut and glue plywood strips to hollow core door
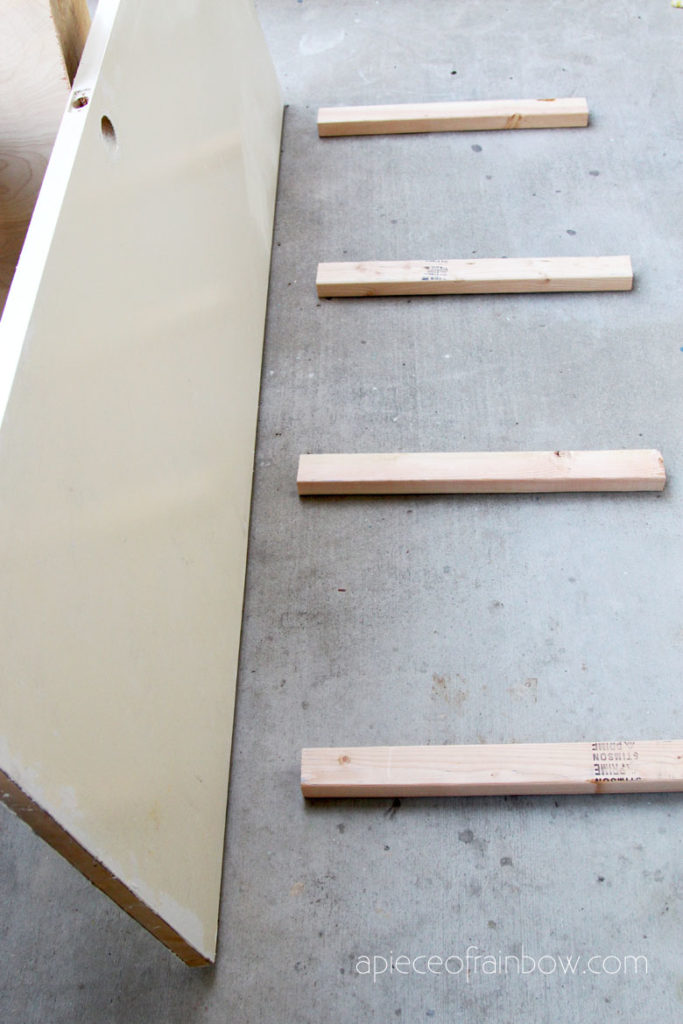
Place the door on some 2x4s to protect the side you are not working on. Measure your door and write down the widths and lengths of all pieces you will need based on the design. Our door measures 28″ x 79″, the strips are 4.5″ wide, which created a nice 4 panel design.
You also need to decide whether you want to create the new design on one side or both sides of the door. Our door opens into a storage closet, so we only need to work on one side.
We used 3/16″ thick plywood from Home Depot and they cut it for us. If you do this, make sure to tell them your intended use, as the plywood can bend a little while on the panel saw which would result in slightly curved cuts.
Since then, we have gotten a new tool Kreg Rip-Cut Circular Saw Guide, which enables us to make and perfectly straight cuts like these.
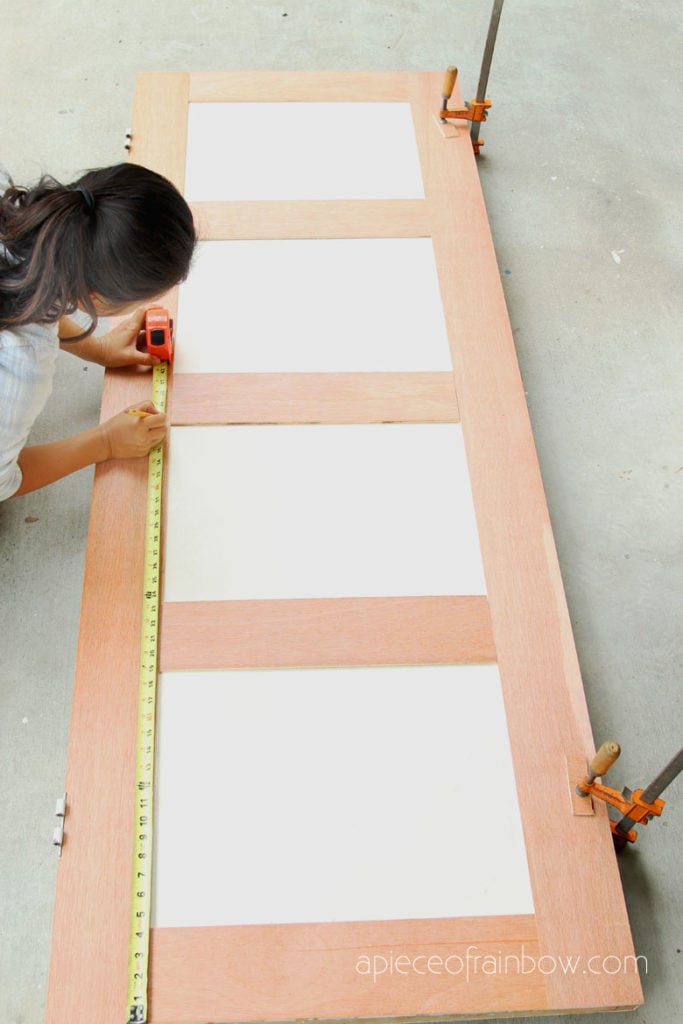
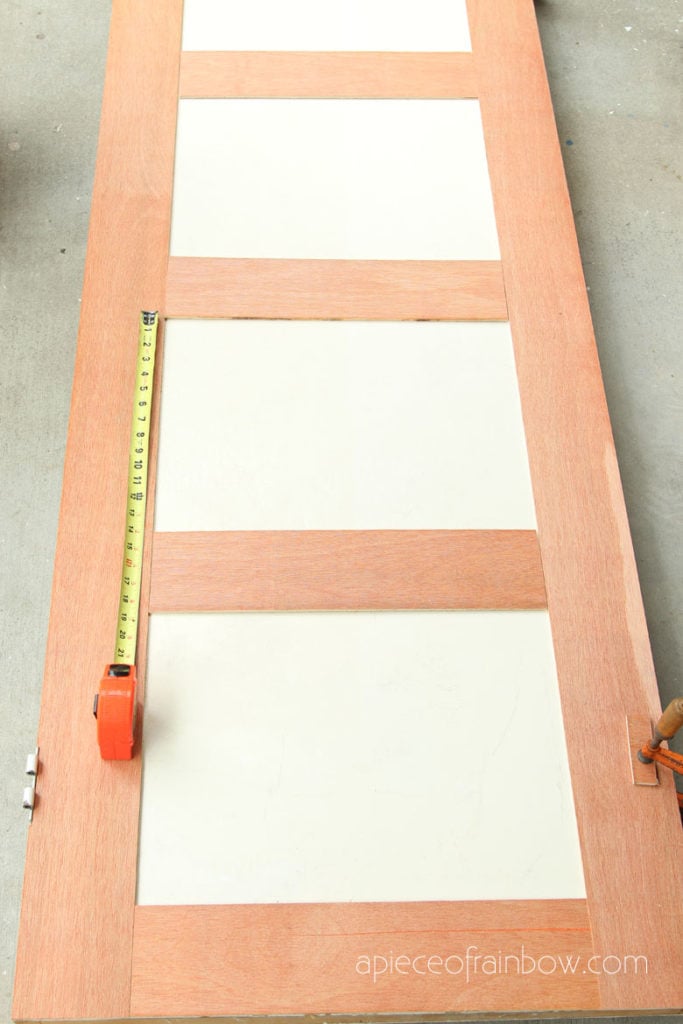
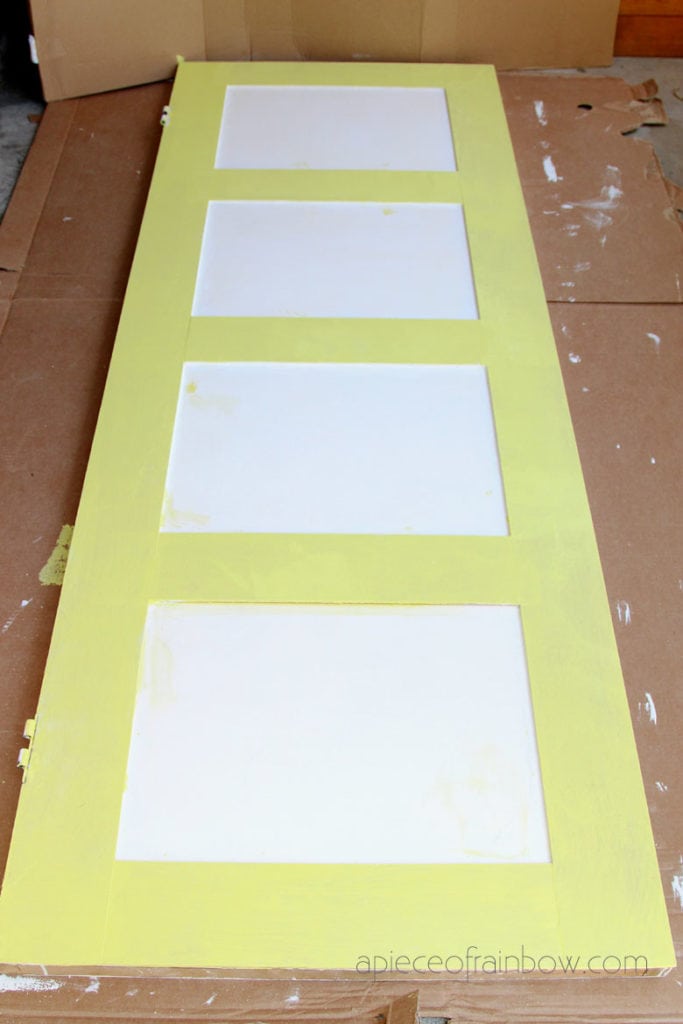
Sand the cut edges of each plywood strip. Arrange them on the door. Use a tape measure to check the layout.

Glue the outer strips first so you have a rigid frame, then glue the horizontal inside strips. Use woodworking clamps or something heavy to hold the pieces together and create good contact while the glue dries, which will take a few hours.
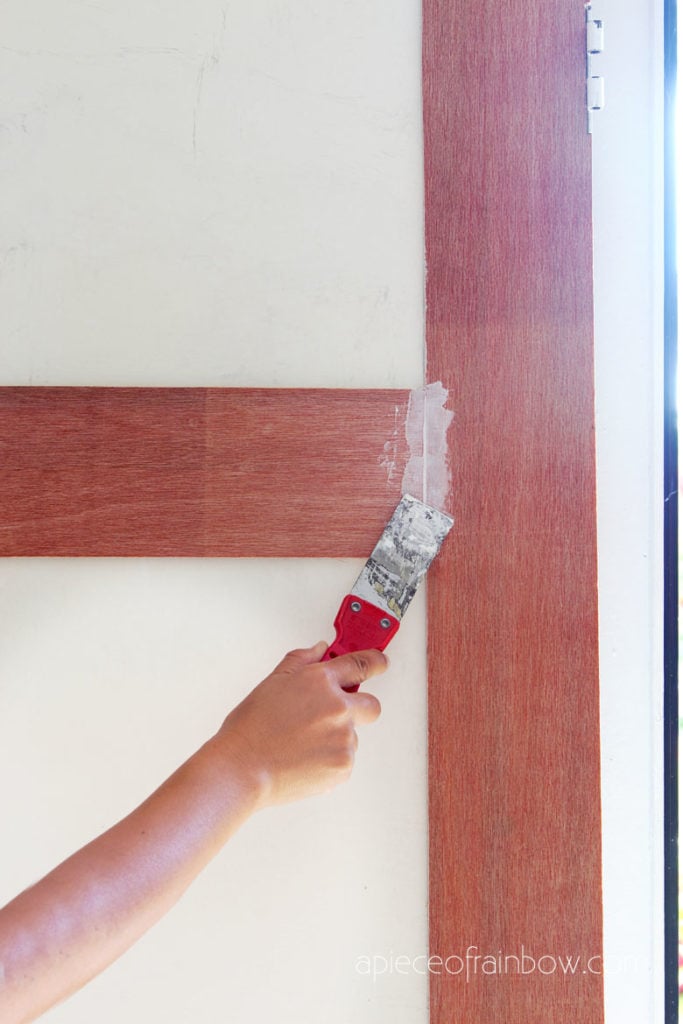
Check for any visible gaps between the door surface and the wood strips, and where the cuts meet. Use spackling paste or joint compound to smooth out any visible gaps.
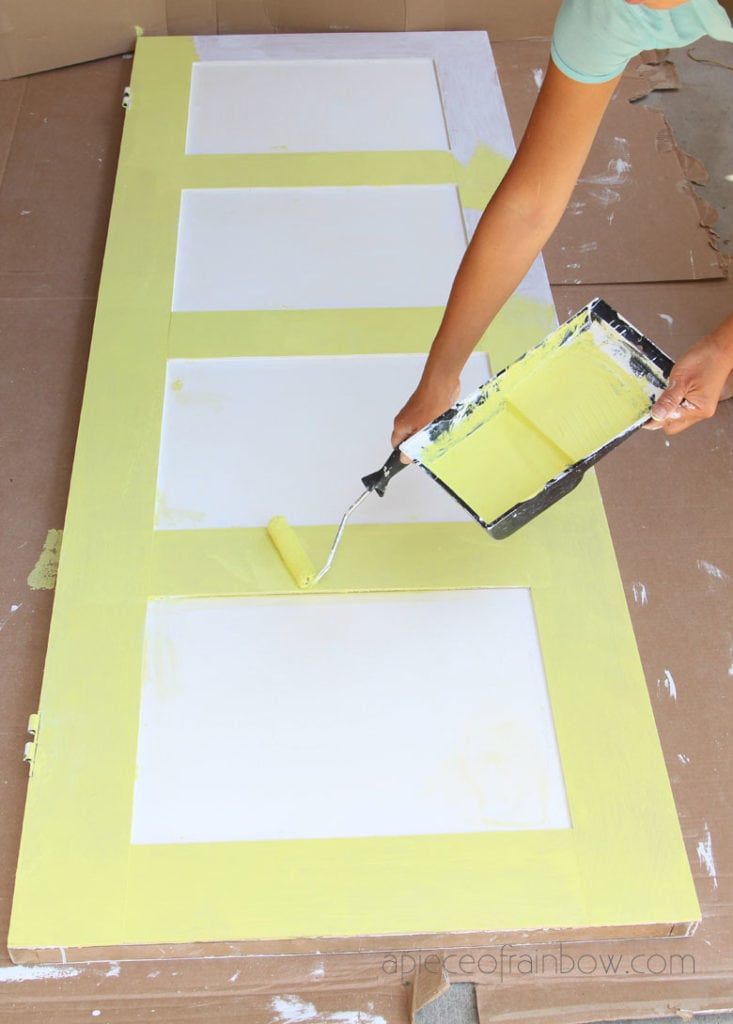
Step 3: paint the panel door
If your door has non glossy surface, or is sanded to a matte finish, you can start painting without using primers.
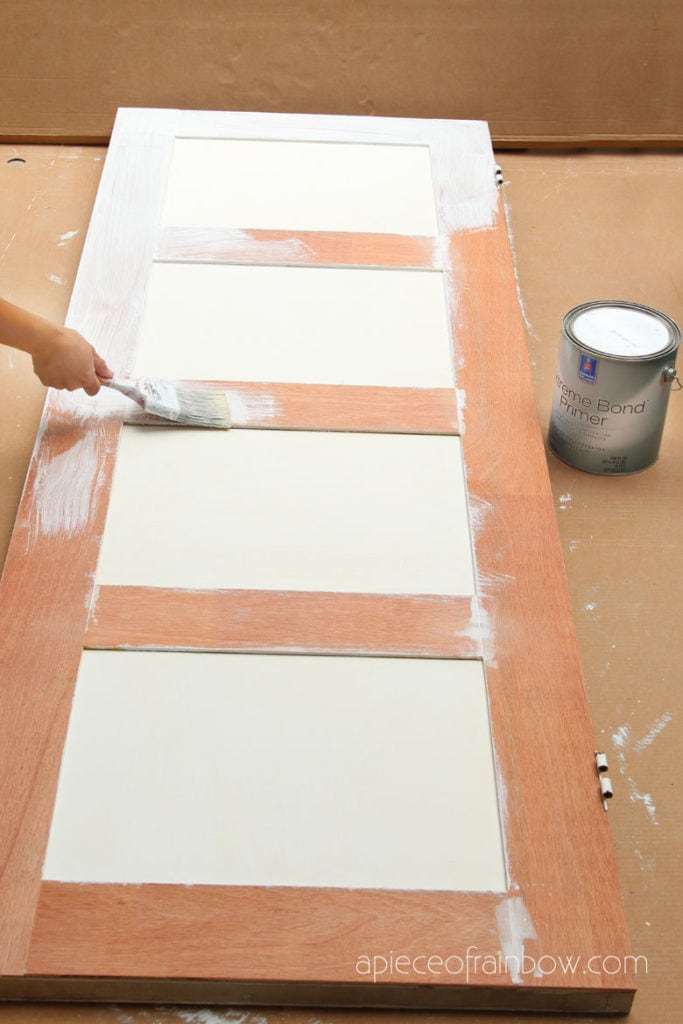
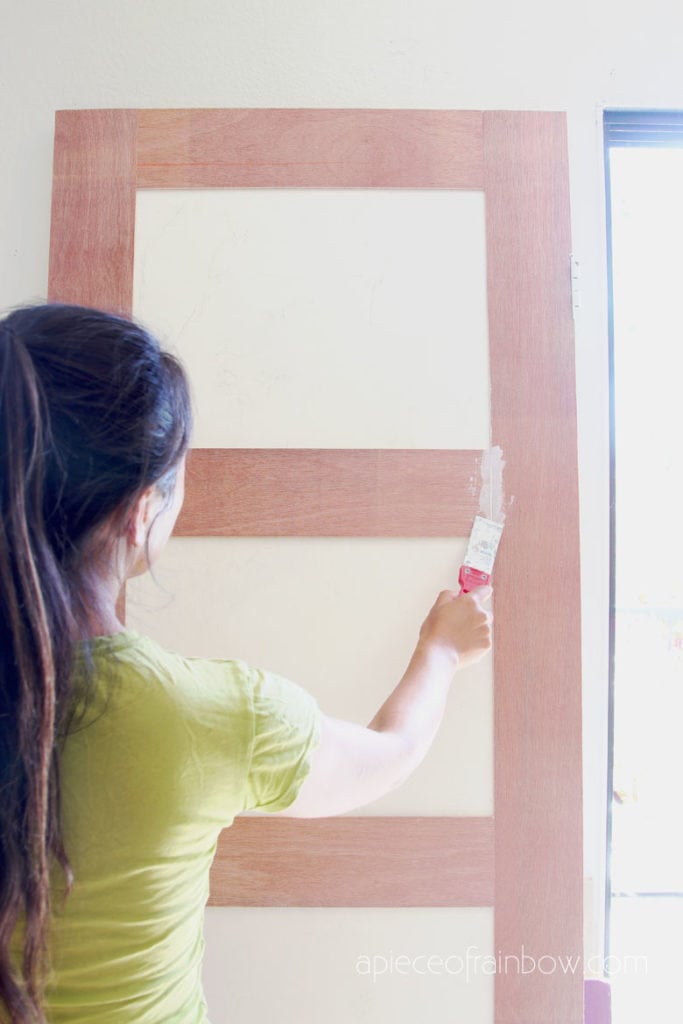
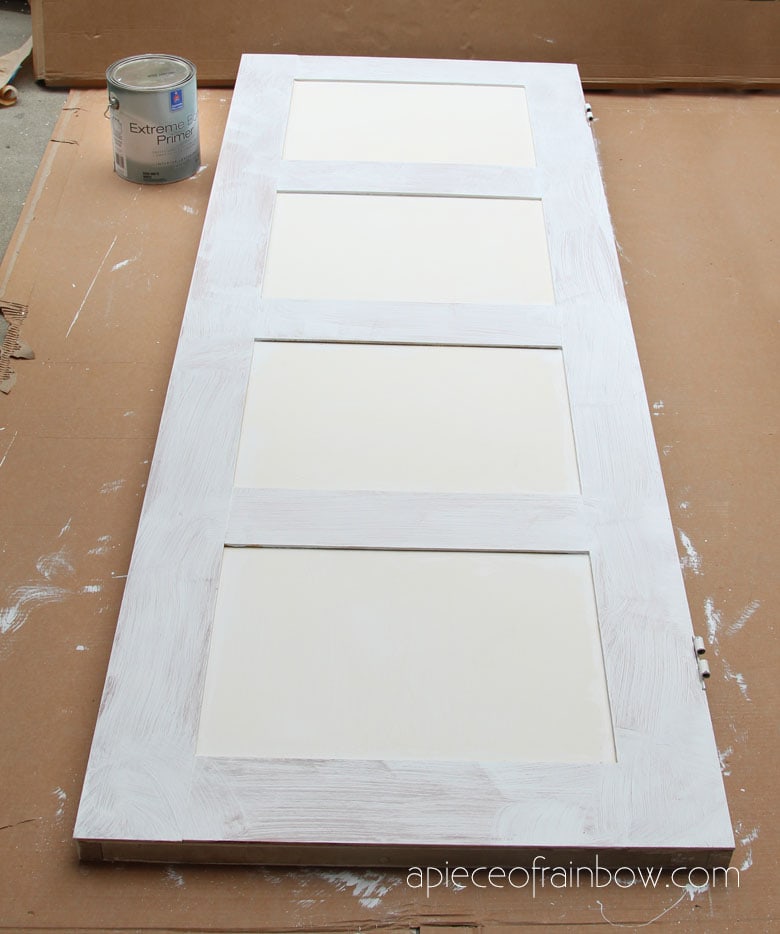
Our door was very glossy, so I primed it for better paint adhesion using Sherwin Williams Extreme Bond primer. This water based primer works great, and is very low VOC.
A small roller like this is great for painting panel doors. Use a brush to touch up the edges along the raised panels.
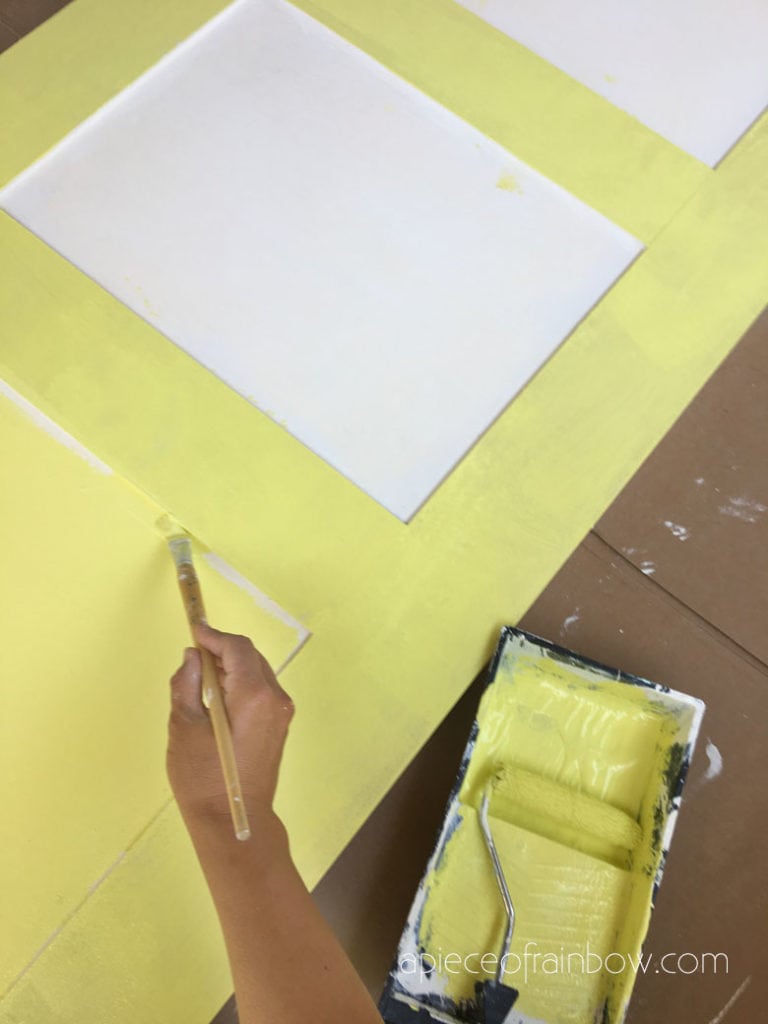
We love Sherwin Williams Emerald paint ( our door color is Funky Yellow SW 6913 Satin finish). The paint has such great coverage so a little bit goes a long way!
Like mentioned in our how to paint kitchen cabinet tutorial, we need to be patient and wait for the the paint to dry completely, which can take a few days, before hanging the door.

Step 4: add door knob
We need to cut a 2 1/8″ hole on the plywood panel where the door knob used to be, using this size hole saw blade which attaches to a drill.
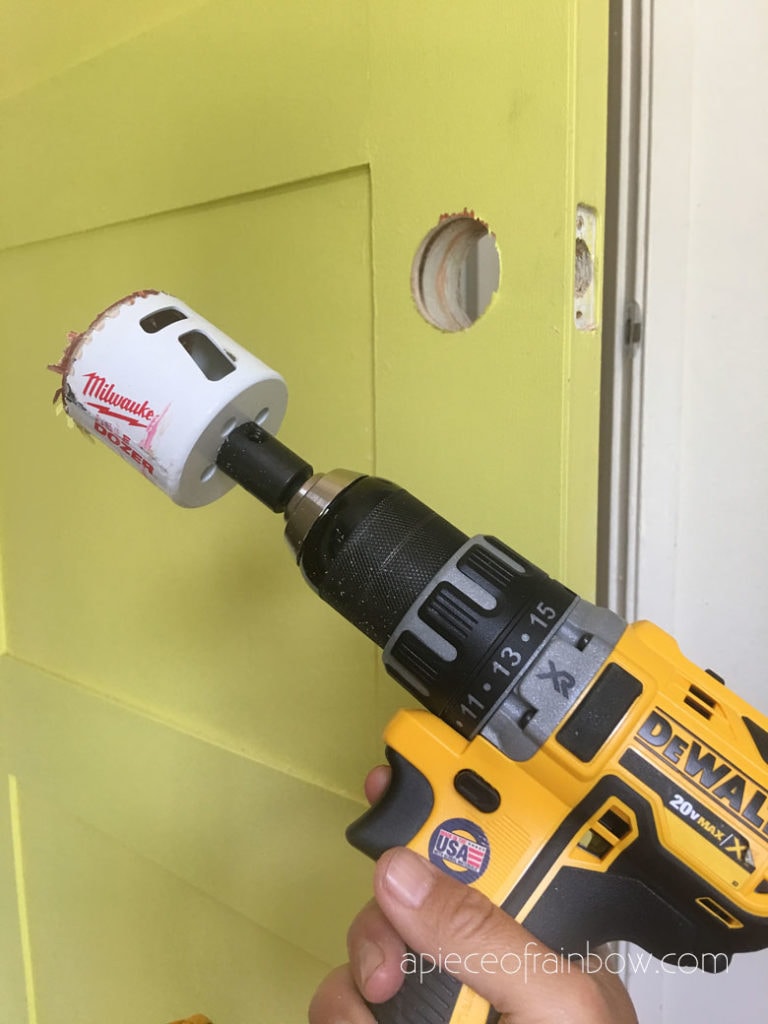
You can put the old door knob back, or change it to something new. We got this simple black door knob here on Amazon.
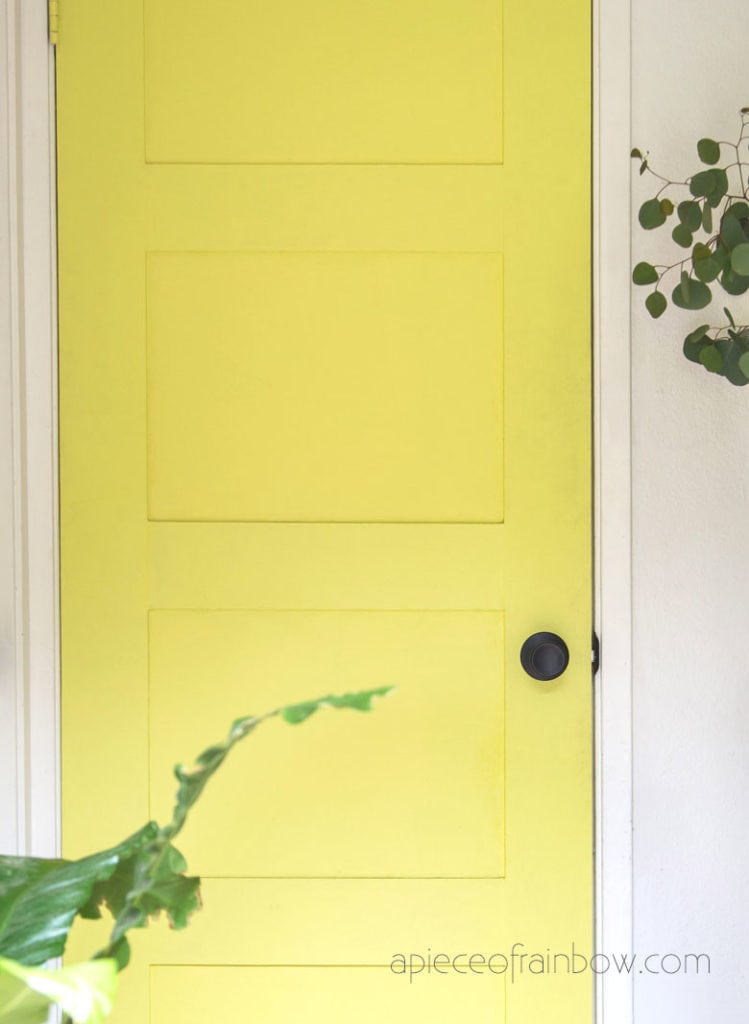
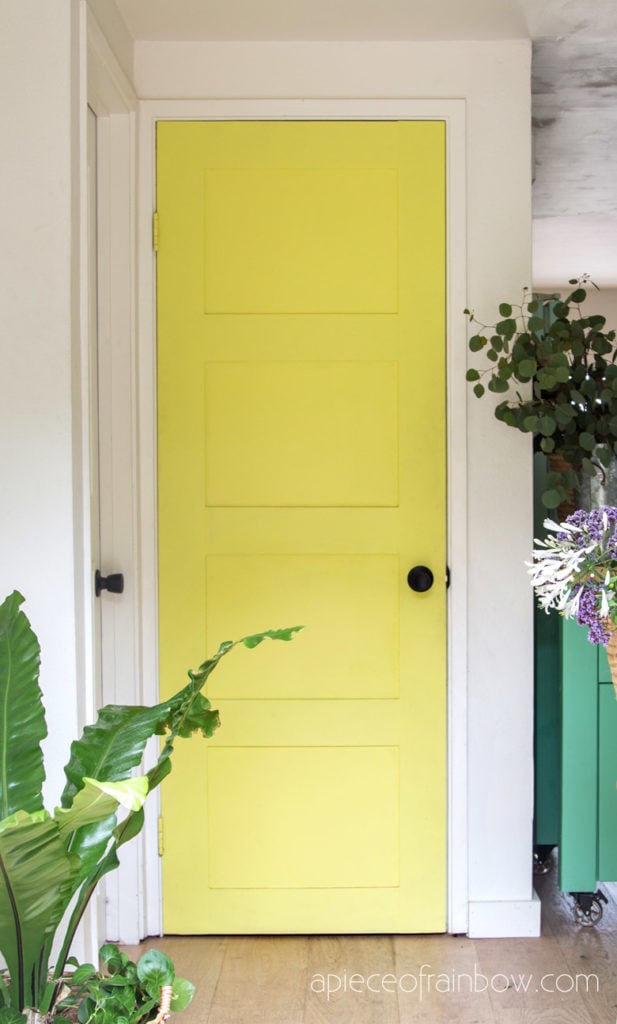
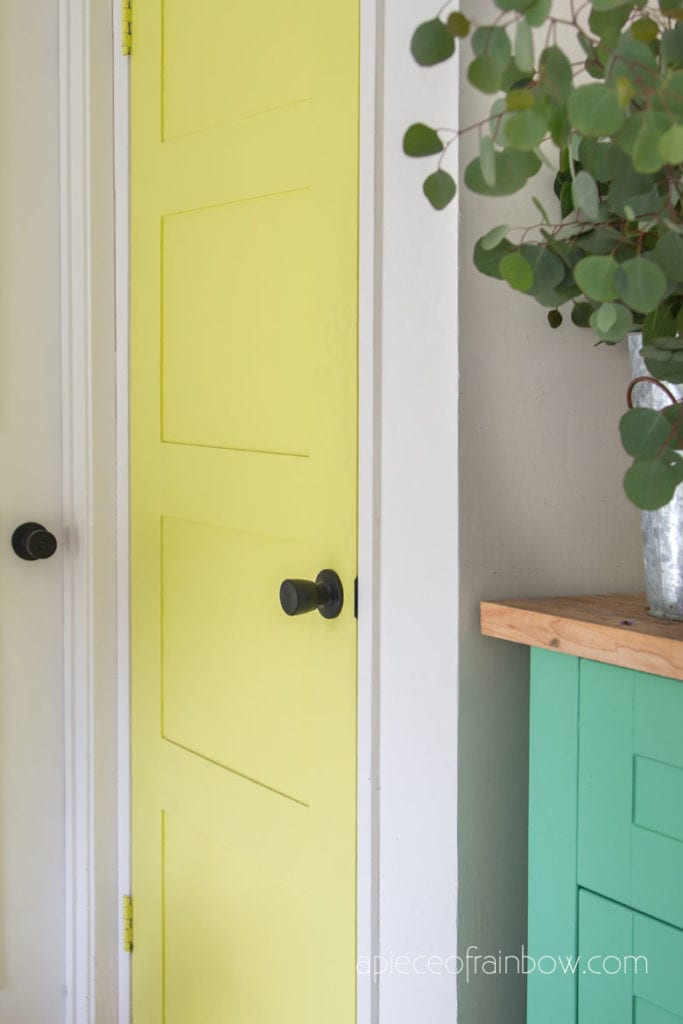
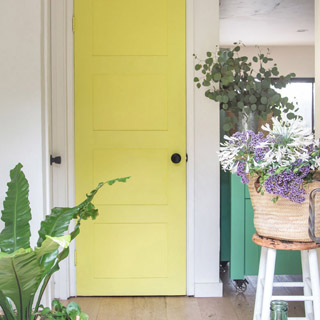
Now we have a brand new door, and no one would guess it was once a boring looking flat door!

It brings such a bright sunny feeling every time we see it. Does it spark joy? Oh yes! 🙂
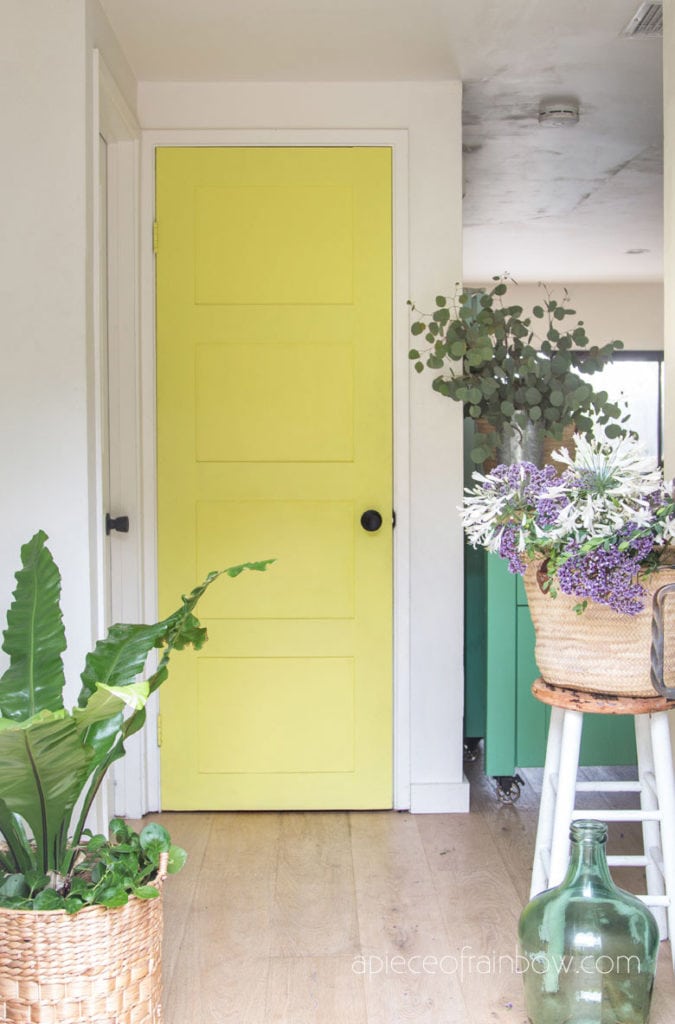
If you are wondering about our DIY green kitchen island on wheels, it’s much easier than you think, here’s the tutorial.
Boho Farmhouse DIY Panel Door: Hollow core Door Makeover!

5 Things I Love About Earthships
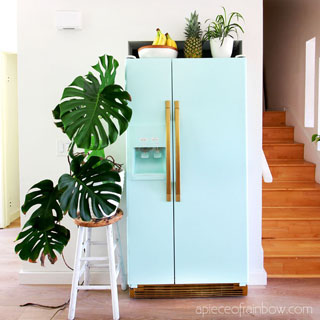
How to Paint a Fridge ( Inspired by a $2,999 Retro SMEG )

How to Grow Avocado from Seed (2 Easy Ways!)
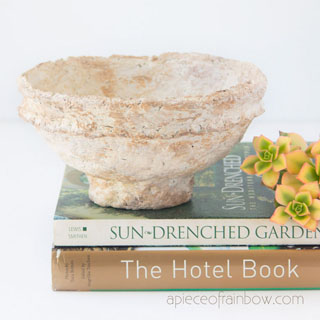
DIY Vintage Paper Mache Bowls: $150 Decor for $5

12 Most Beautiful DIY Shed Ideas with Reclaimed Windows
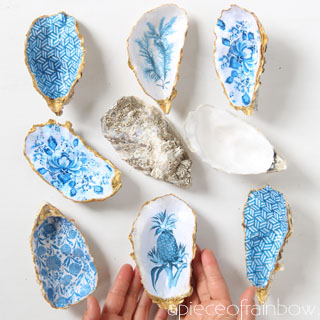
Anthropologie Style DIY Oyster Shell Trinket Dish

How to Paint Kitchen Cabinets (& #1 Mistake to Avoid)
DIY Plastic + Wood Hybrid Planter

Farmhouse DIY Kitchen Island ( an IKEA hack!)

Grow Beautiful Fiddle Leaf Fig (5 Best Care Tips!)