Want to give your kitchen a fresh new look at very low cost? Let’s paint kitchen cabinets! It is a great idea in almost any kitchen makeovers from a complete remodel, to a quick and easy refresh.
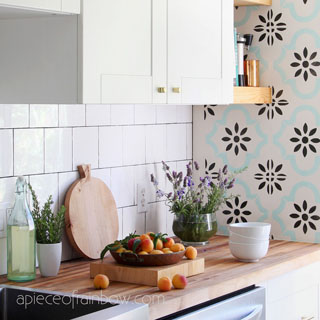
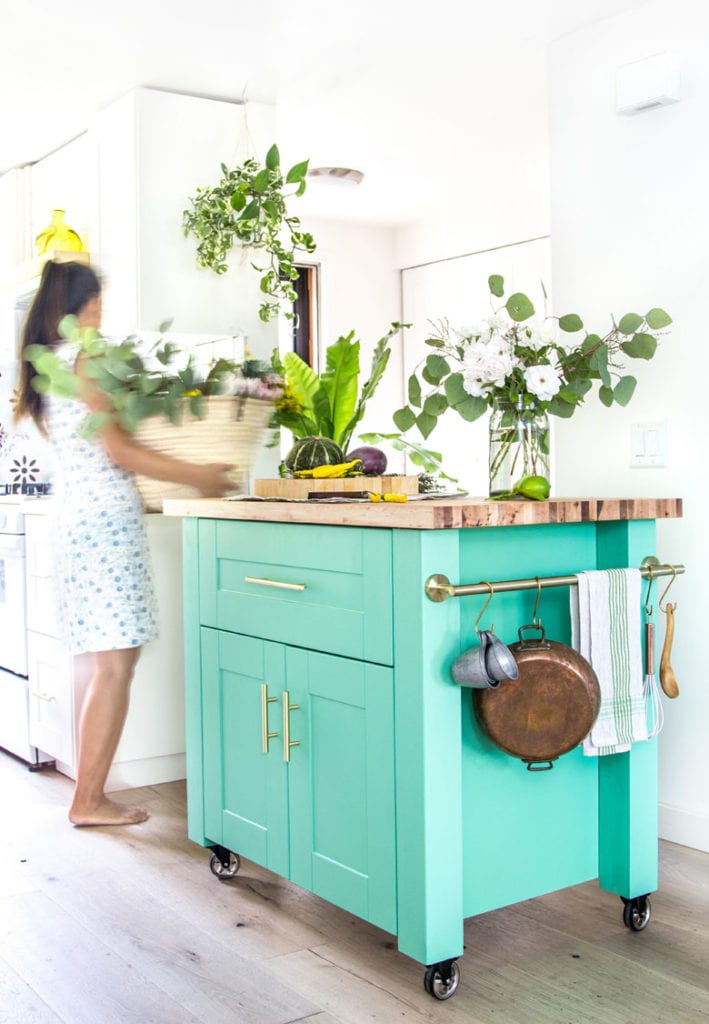
For our DIY kitchen remodel (see before and after here), we knew we wanted mostly white kitchen cabinets with an accent color kitchen island.
Our IKEA kitchen cabinets are high gloss laminate finish (aka MDF), which is one of the most difficult finishes to paint over. We want out painted kitchen island to be very durable in a super high traffic area.
After lots of research and testing, I am happy to report that our painted kitchen island came out super durable! Whether you are considering painting existing or new kitchen cabinets, there are lots of tips for you in this tutorial. In the final step, you will find the #1 mistake to avoid!
Disclosure: when I told Wagner Spray Tech about our kitchen remodel, they generously offered to sponsor us on this kitchen island project! We are really thrilled to be collaborating with one of our favorite tool companies!
*Some resources in article are affiliate links. Full disclosure here.

Table of Contents
- Check out the video tutorial or skip to written tutorial below!
- Materials and tools to paint kitchen cabinets:
- Preparations before you paint kitchen cabinets:
- What kind of paint do you use to paint kitchen cabinets?
- Can I paint kitchen cabinets without sanding?
- Step 1: sand cabinets before painting
- Step 2: how to prime cabinets before painting
- Love Kitchen Ideas?
- Step 3: how to paint kitchen cabinets
- Important final step: paint drying vs curing ( #1 mistake to avoid!)
- Check out the updated list of our kitchen remodel tutorials here!
Check out the video tutorial or skip to written tutorial below!
Materials and tools to paint kitchen cabinets:
- sanding block (great for keeping a flat surface) and 220 grit sandpaper (or similar grit)
- primer: a good paint primer is the key to a durable paint finish. we decided to use a shellac based primer for this project. You can also use a good quality water based primer or oil based primer . See Step 2, or this article for more on choosing primers.
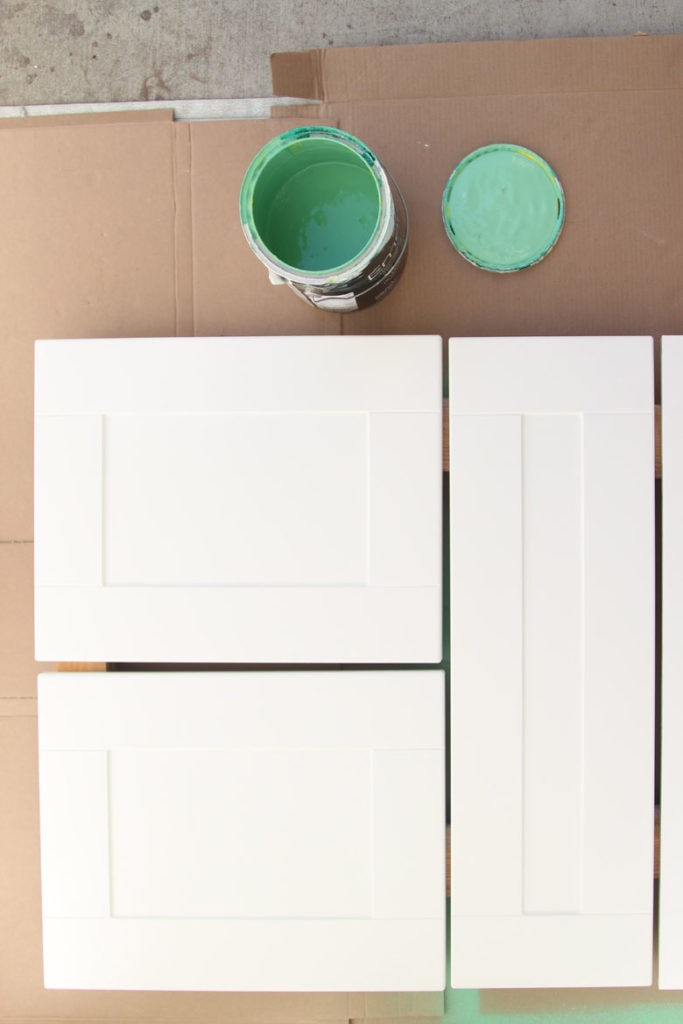
- Paint: we love Sherwin Williams Emerald latex paint, the color we chose is “SW6745 Lark Green” in satin finish.
- Paint roller or paint sprayer: we used this awesome Wagner paint sprayer to achieve a super smooth and even paint finish, along with this Wagner Homeright large spray shelter (I received both products as gifts. Thank you Wagner Spray Tech !)
- If you are using a paint sprayer, it is important to wear a respirator mask and eye goggles because of the very fine paint particles!
Preparations before you paint kitchen cabinets:
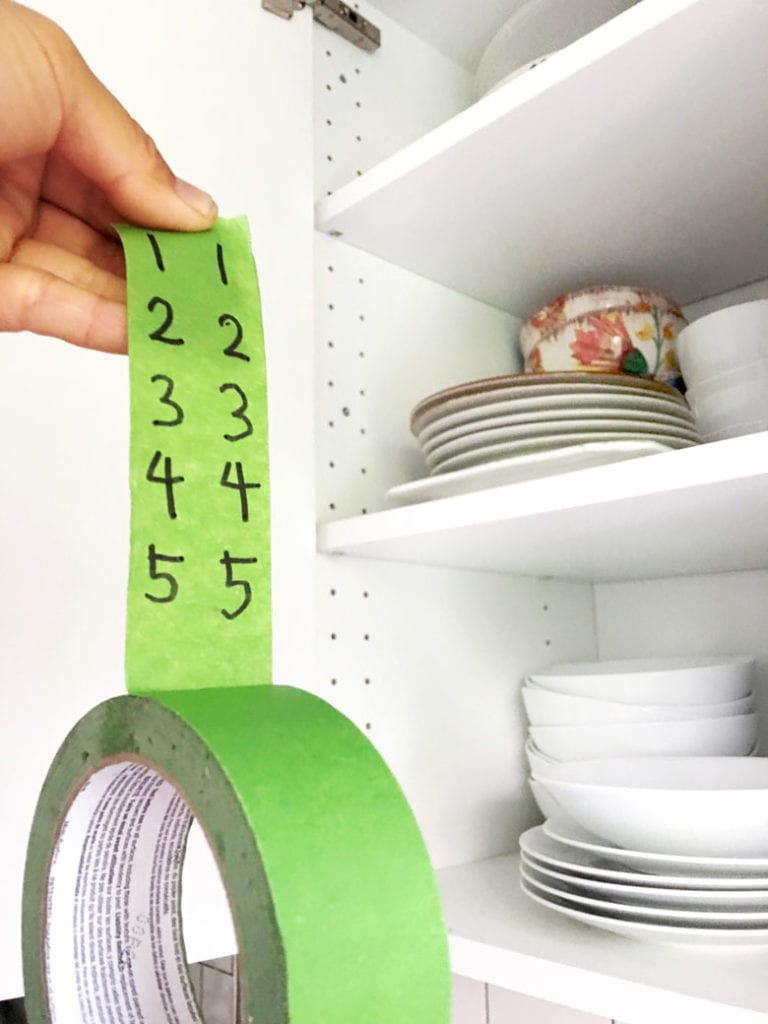
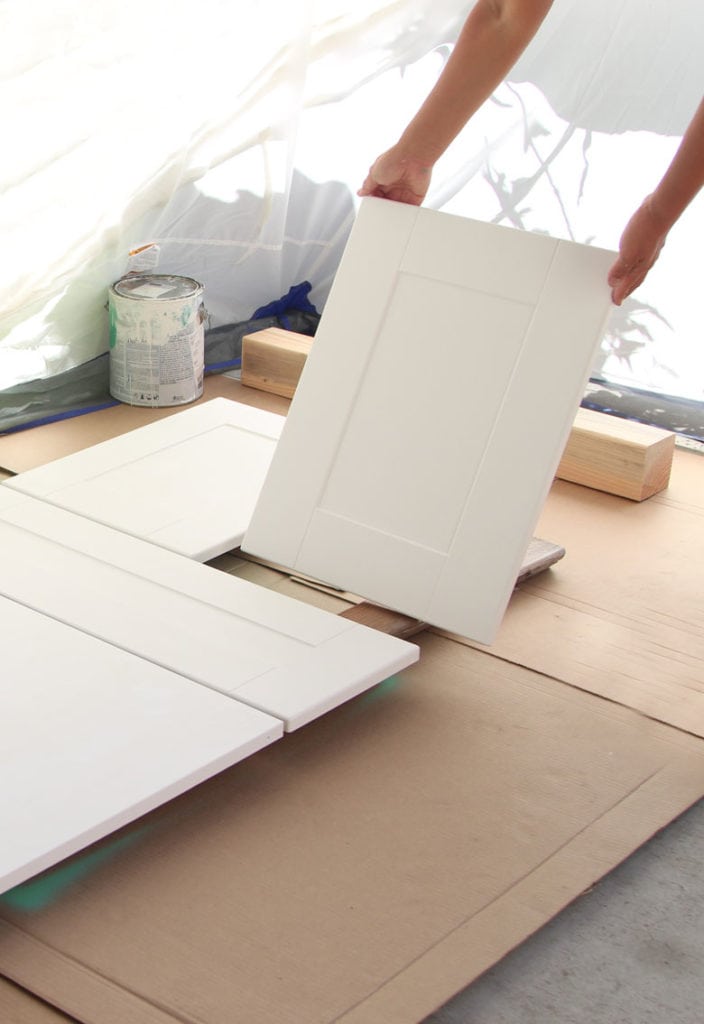
If you are painting existing kitchen cabinets, first label and remove kitchen cabinet doors, drawers, and hardware. Here is a good example of how to label each door: write and tape the corresponding numbers on the back of each door and the inside of the cabinet. This way you will know exactly which door goes where.
Clean off any grease and dirt with a good dish soap, wipe off all soap residues with a rag or sponge, and let dry.
In our case we are painting and building a kitchen island using a new IKEA kitchen cabinet, and we will be painting all the exposed side and back panels as well.
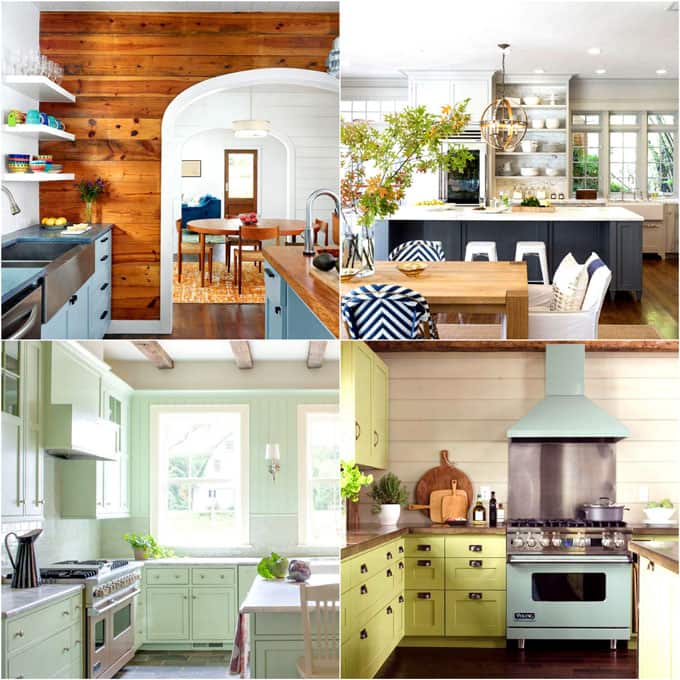
Need some color inspirations? Here are 25 favorite kitchen cabinet paint colors you can choose from!
What kind of paint do you use to paint kitchen cabinets?
You can use water based or oil based paints. We chose water based latex paint because it is the easiest to work with, and is very durable. You also want the kitchen cabinet surface to be easy to clean. Satin, semi-gloss or high gloss finishes are all good choices.
Can I paint kitchen cabinets without sanding?
You can paint kitchen cabinets without sanding if your cabinets are raw wood, or already painted with a matte surface. Otherwise a super quick sanding will help create much better adhesion.
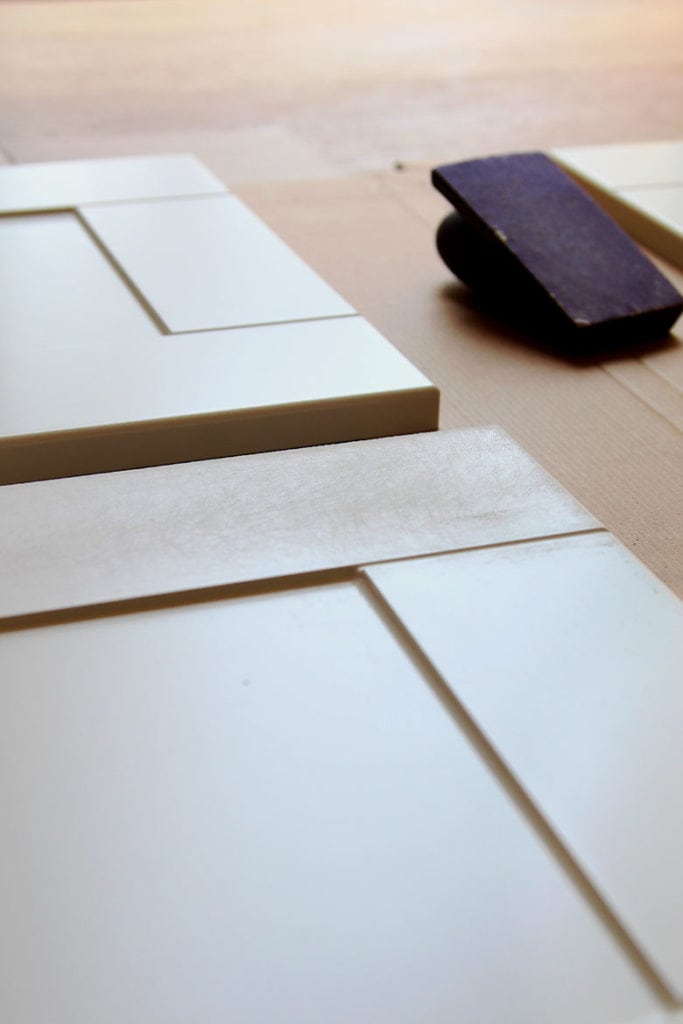
Step 1: sand cabinets before painting
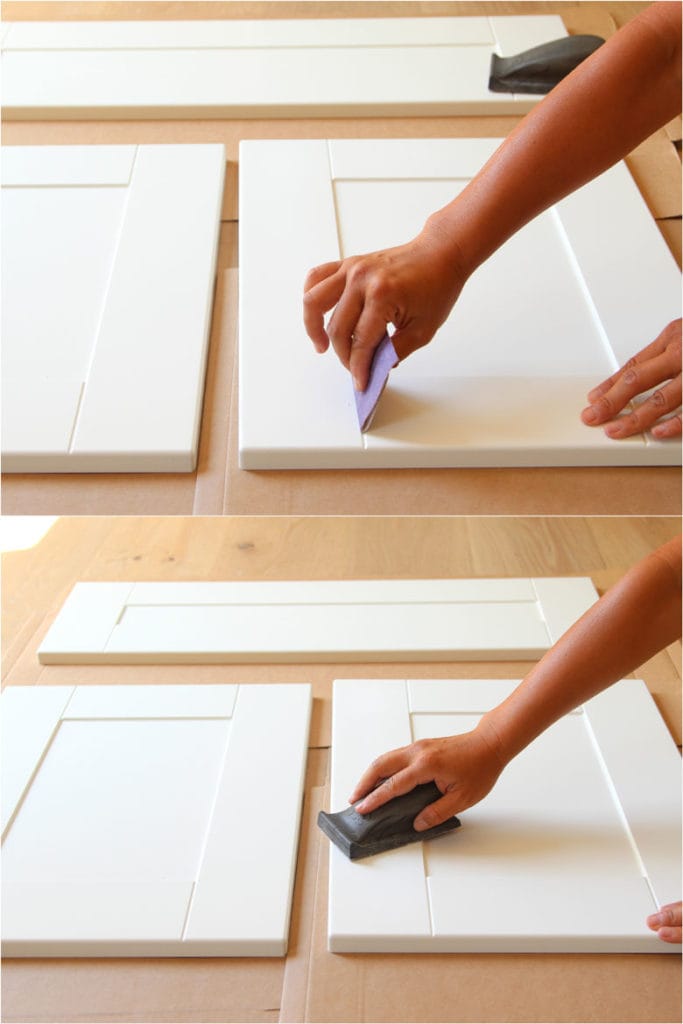
Take a sanding block (great for keeping a flat surface) and 220 grit sandpaper , quickly sand all the surfaces that are going to be painted, don’t forget the edges! I like to use a circular motion when sanding. Check out the video above for more details.
It only takes a minute to sand each door or drawer. This is an important step, especially for laminate cabinets, as it creates tiny little scratches for much better adhesion when the primer goes on.
If you tilt the cabinet door or drawer towards the light, you should see a scratched dull surface instead of the glossy surface before. This means you have sanded enough. See photo above.
Step 2: how to prime cabinets before painting
Check out our paint primer comparison test on the pros and cons of using water based, oil based and shellac based primers on laminate cabinets.
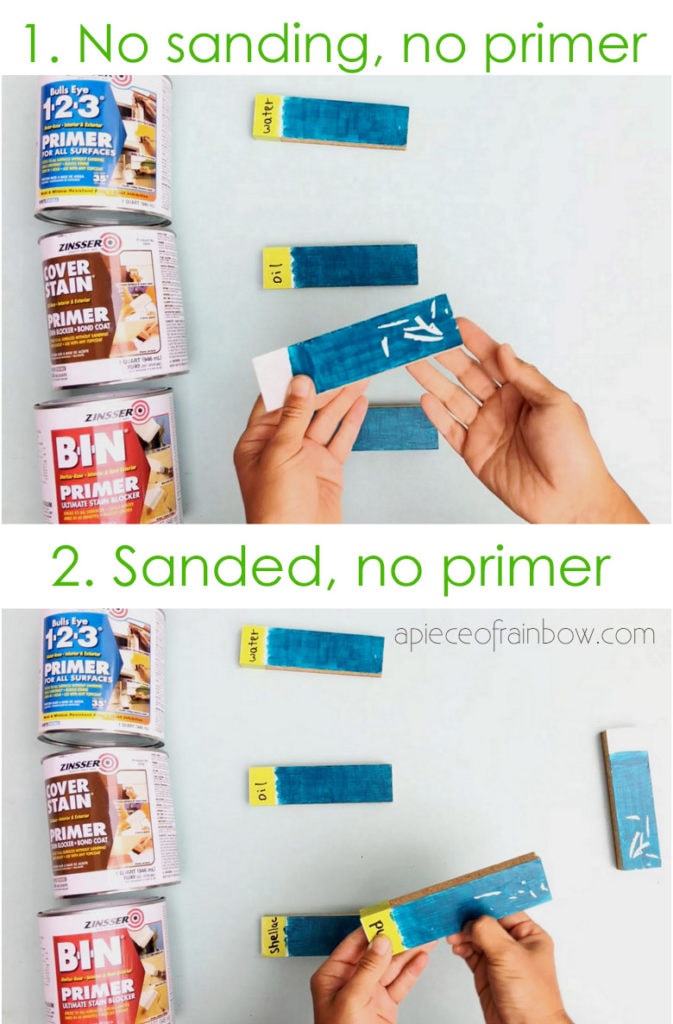
The reason we chose shellac based primer is because we are painting a high gloss finish, and the kitchen island will be in such a high traffic area. Shellac primer is harder to work with, but the result is the most durable in our scratch test.
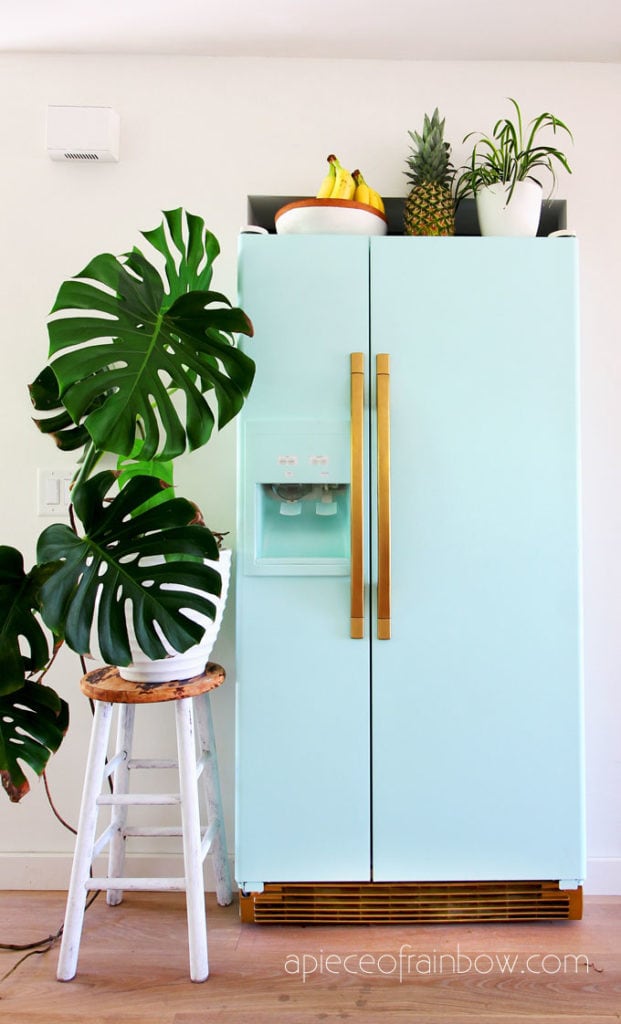
If your kitchen cabinets have a matte finish, or are less likely to be bumped into, you can totally use a water based primer, which is the easiest to work with, and has held up great on our painted fridge! Tutorial here.
Do NOT use shellac primer in a paint sprayer! It is VERY difficult to clean. You can use water or oil based paint primer in a sprayer with beautiful results!
The key to using shellac primer is to work super fast with a brush. It reminds me of painting nail polish which I have very little experience of. You can feel it starts to dry as you paint. Don’t fuss over painted areas and make a stick mess like I did! 🙂 Luckily, you can sand the messed up areas easily after it dries completely. One even coat is enough.
Wrap the brush with some plastic wrap to keep clean, and use it again if you need a second coat. The brush may harden, but it will become soft when you dip it into the shellac primer.
I don’t clean our shellac primer brush, just store it wrapped for future use. You can find out why here.
Once the primer is completely dried and any brush marks are sanded smooth, we are ready to paint!
Love Kitchen Ideas?
See more >> 
DIY Pallet Wall: 25 Best Accent Wood Wall Tutorials
15 Inspiring Before After Kitchen Remodel Ideas (Must See!)

$1 Farmhouse DIY Tabletop Christmas Tree

2-Ingredient DIY Butcher Block & Cutting Board Oil Conditioner
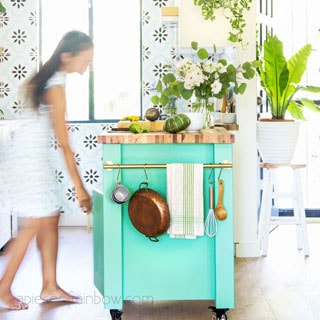
20+ Smart and Gorgeous IKEA Hacks ( & Great Tutorials )
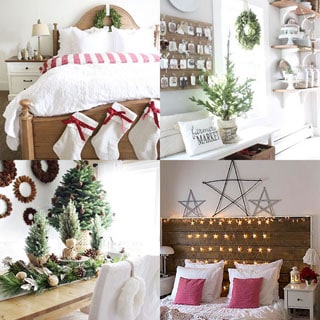
100+ Favorite Christmas Decorating Ideas For Every Room in Your Home : Part 2
Design & Install Your Dream IKEA Kitchen: An Ultimate Guide!
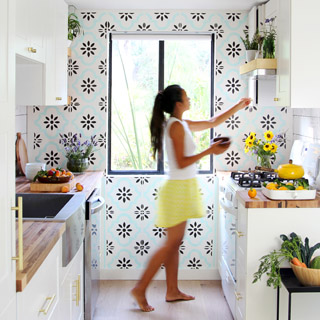
Our DIY IKEA Kitchen Remodel ( & 8 Super Helpful Ideas)
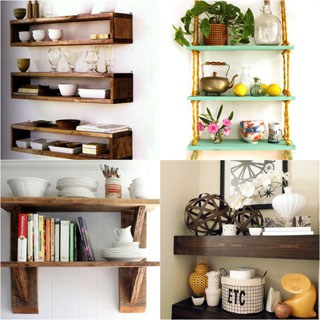
16 Easy and Stylish DIY Floating Shelves & Wall Shelves
How to Finish Butcher Block Countertop: Seal, Oil or Epoxy?

How to Skim Coat & Smooth a Textured Wall Like a Pro!
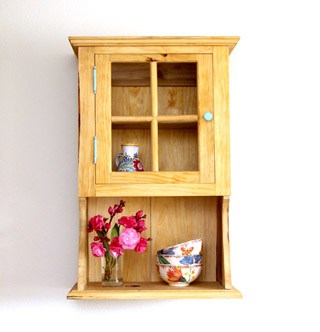
Farmhouse DIY Wall Cabinet with Free Building Plan
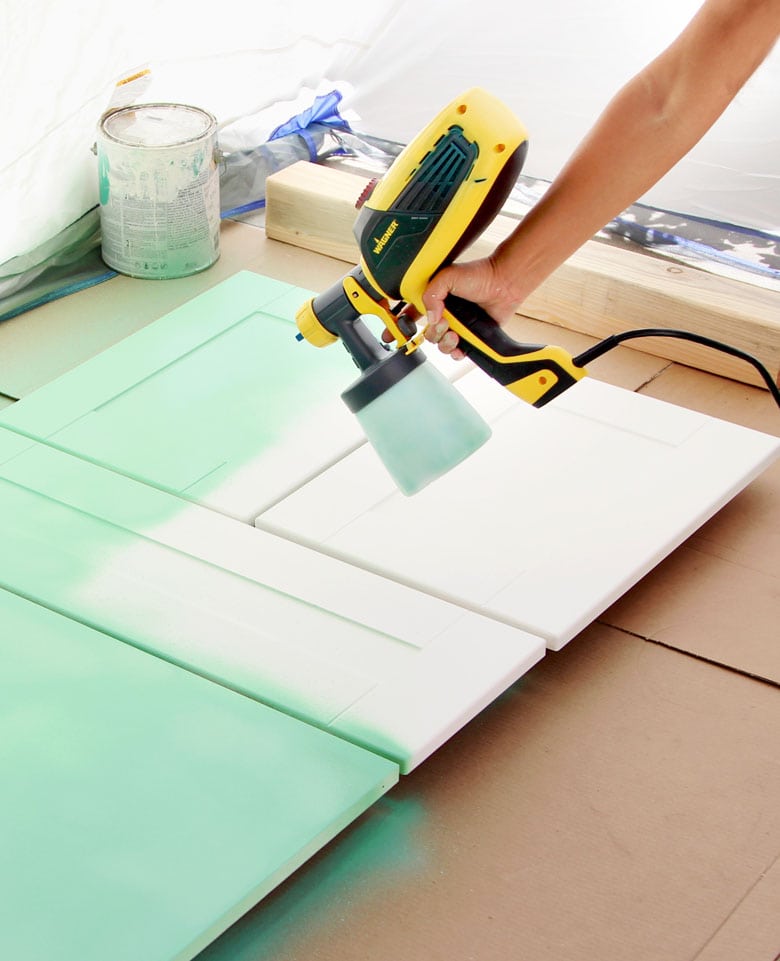
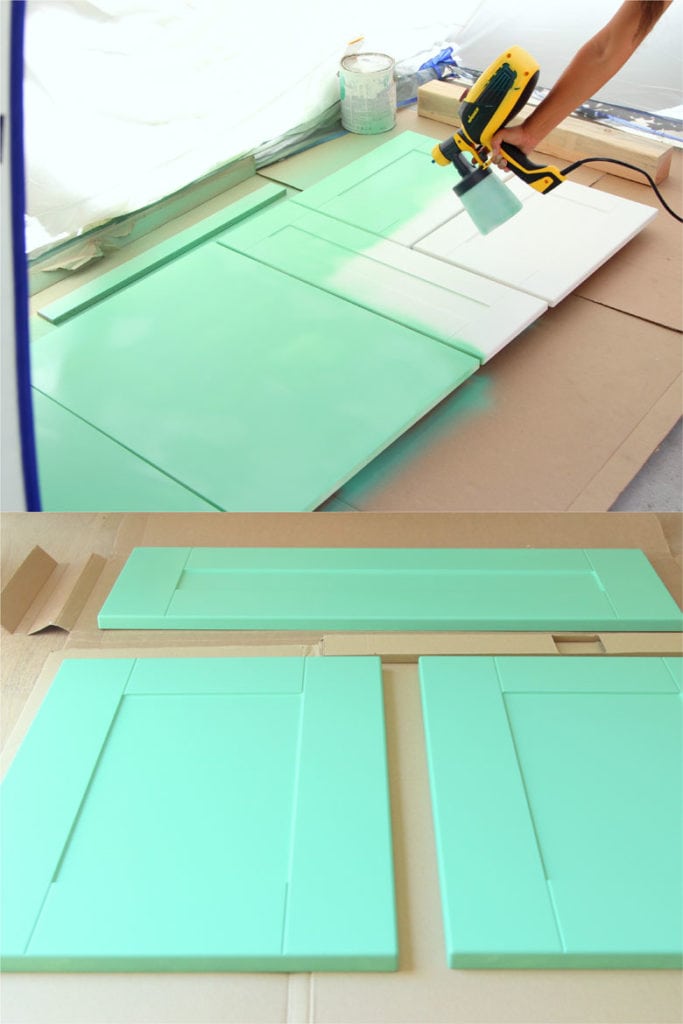
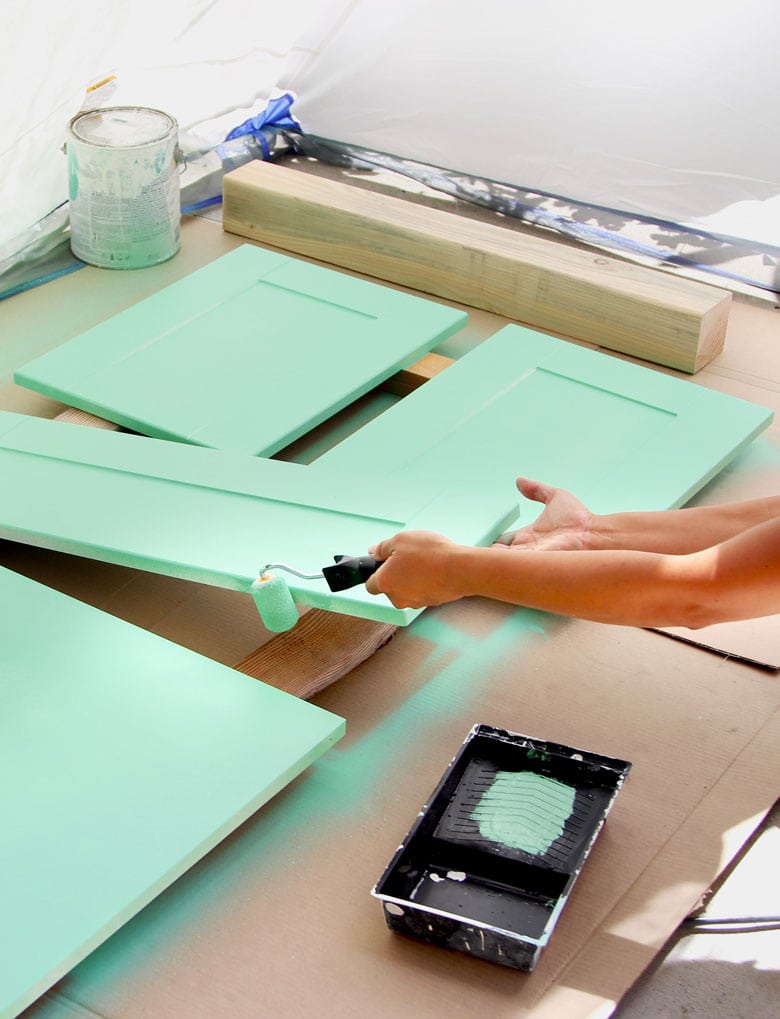
Step 3: how to paint kitchen cabinets
If you have built in cabinet sides that stay in place and need painting, you can use a paint roller like how we painted our fridge here!
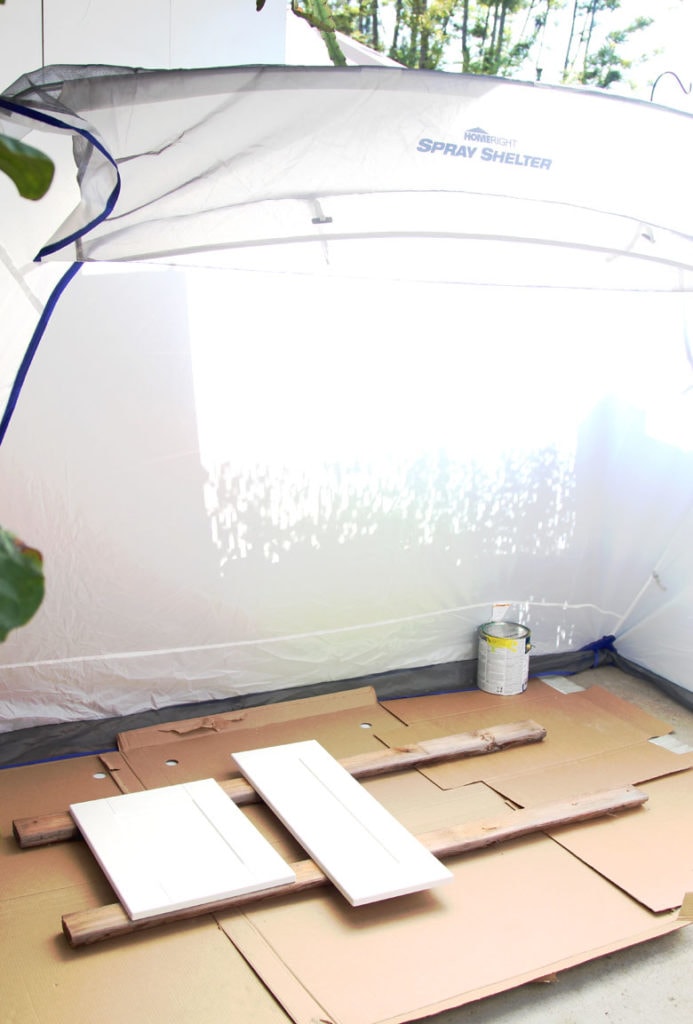
We wanted really nice and smooth finishes on our kitchen island, so we used Wagner paint sprayer and this Wagner Homeright large spray shelter on this project!
Set up the tent, place tarp or large cardboard on the tent floor, and use scrap wood or some 2x4s to lift your pieces off the floor.
Here’s a great video tutorial from Wagner’s Youtube channel on how to use the paint sprayer like a pro!
Make sure to keep everything in your tent and surrounding area as dust free as possible. Nothing is more heart breaking than to find tiny pieces of dust and hair sticking to your beautifully painted surface!
If that happens, wait till the paint is dry, then gently remove the particles and touch up the area if needed.
Test on some scrap pieces to help you adjust pressure and paint consistency. We added 20% water to our Sherwin Williams latex paint. If you have not used a paint sprayer before, definitely practice some at first!
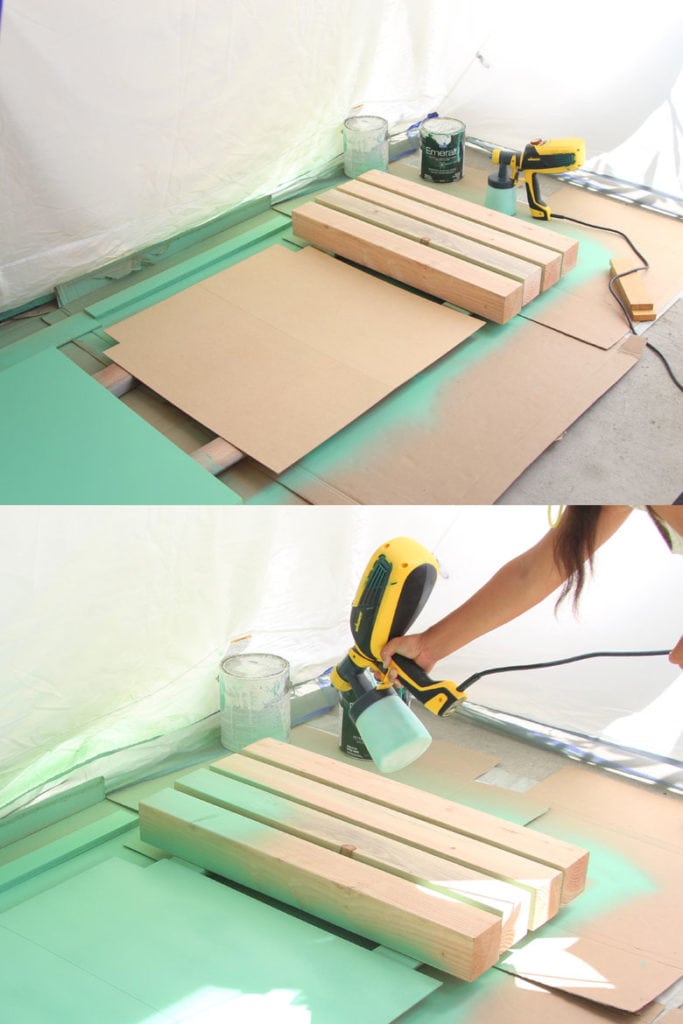
You may need two to three coats of paint. Wait for each coat to dry, which takes about an hour, before painting the next coat. We painted our cabinets two coats.
Use a small paint roller to touch up missed areas if you have already put the sprayer away. Yes it happens! 🙂
You might be excited to put your kitchen cabinets back together as soon as the paint feels dry – please don’t!
Important final step: paint drying vs curing ( #1 mistake to avoid!)
Here is a BIG #1 mistake that many of us have learned the hard way: touching or putting things on the paintedcabinet surfaces as soon as the paint is dry!
Fresh painted surfaces are fragile and must be cured first! Otherwise you can easily leave fingerprints or scratches when trying to put on door hinges, cabinet knobs and drawer pulls! If you put anything on the surfaces or let the touch each other, paint can peel off!
As paint cures, it hardens and becomes much more durable. You should let the paint cure for at least 5-7 days before putting the doors back, and don’t put anything on the painted surfaces such as stickers or decorative wreaths until after 2-3 weeks!
We waited 10 days before assembling our kitchen island. You can check out our tutorial part two here: how to design and build a kitchen island ( an IKEA hack!)
Check out the updated list of our kitchen remodel tutorials here!
- Our modern farmhouse IKEA kitchen remodel before and after, with 8 best tips!
- How to design and install your own IKEA kitchen from start to finish!
- How we gave our old dated fridge a beautiful $2000 new look! 🙂
- 100 day review of our stainless farmhouse sink.
- 2-Ingredient natural DIY butcher block countertop & cutting board oil conditioner recipe.
- How to paint kitchen cabinets, and #1 mistake to avoid.
- Boho farmhouse DIY kitchen island: an IKEA Hack!
Happy creating! See you next week! 🙂